
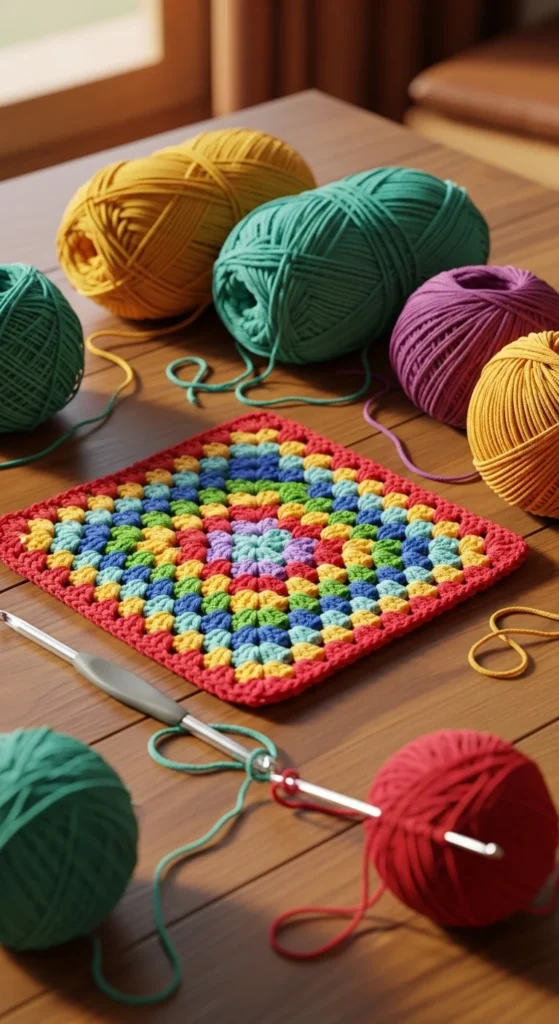
The granny square is one of the most loved crochet patterns of all time—and for good reason. It’s simple, flexible, and perfect for beginners. You can turn granny squares into blankets, bags, pillows, scarves, or even clothing. Best of all, once you learn one square, you can make dozens without stress. This guide breaks everything down into clear, friendly steps so you can crochet a classic granny square with ease.
What You Need to Crochet a Granny Square
Granny squares don’t require many supplies, which makes them great for beginners.
Basic supplies
- Medium-weight yarn (size 4 works well)
- Crochet hook (5 mm or 6 mm)
- Scissors
Smooth yarn is easier to work with than fuzzy yarn. Light or bright colors help you see stitches clearly, especially when learning.
You can use one color or multiple colors. Beginners often start with one color to focus on stitch placement.
Understanding the Granny Square Structure
Before you start crocheting, it helps to understand how a granny square is built.
A classic granny square is made in rounds, not rows. Each round adds size to the square.
Key features:
- A center ring
- Groups of stitches called clusters
- Chain spaces at the corners
Once you understand this structure, the pattern feels much less confusing.
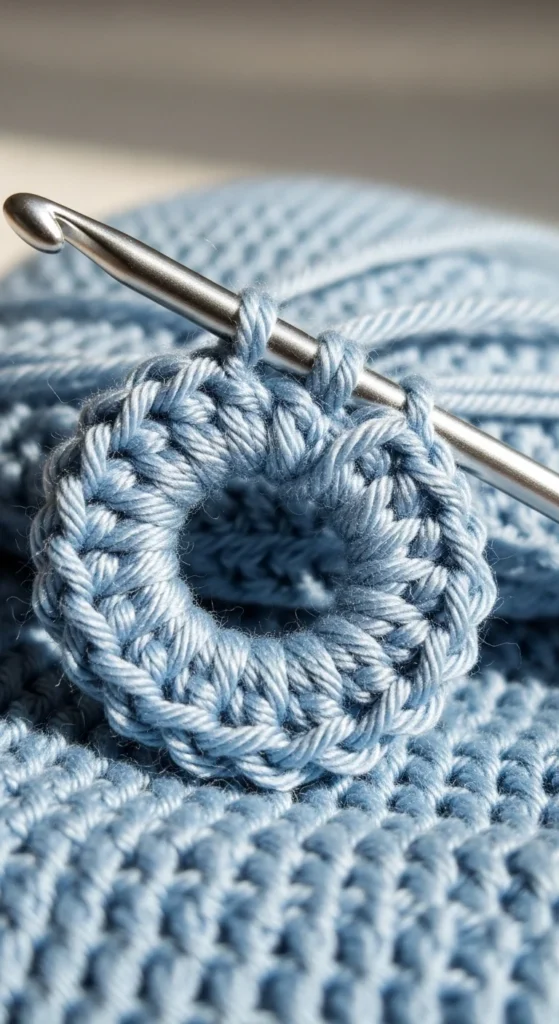
Making the Center Ring
Every granny square begins in the center.
Simple center ring steps
- Make a slip knot
- Chain four
- Join the chain into a ring with a slip stitch
This small ring is where your first round of stitches will go.
Some people use a magic ring instead, but the chain ring is easier for beginners and works perfectly.
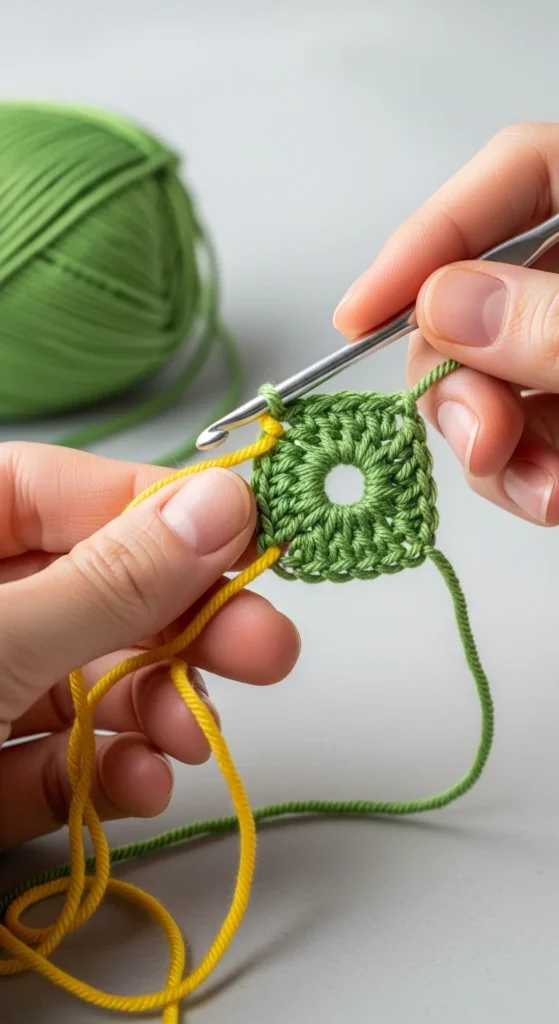
Crocheting the First Round
The first round creates the base of your granny square.
First round steps
- Chain three (this counts as your first double crochet)
- Work two double crochets into the ring
- Chain two
- Work three double crochets into the ring
- Chain two
- Repeat until you have four clusters
- Chain two and slip stitch to the top of the starting chain
You should now see a small square shape forming.
Take your time with this round. It sets the shape for everything that follows.
Crocheting the Second Round
The second round builds the corners and makes the square more visible.
Second round steps
- Slip stitch into the nearest corner space
- Chain three
- Work two double crochets into the corner space
- Chain two
- Work three double crochets into the same space
- Chain one
- Move to the next corner and repeat
Each corner gets two clusters with a chain-two space in between.
Join the round with a slip stitch at the end.
Your granny square should now look clearly defined.
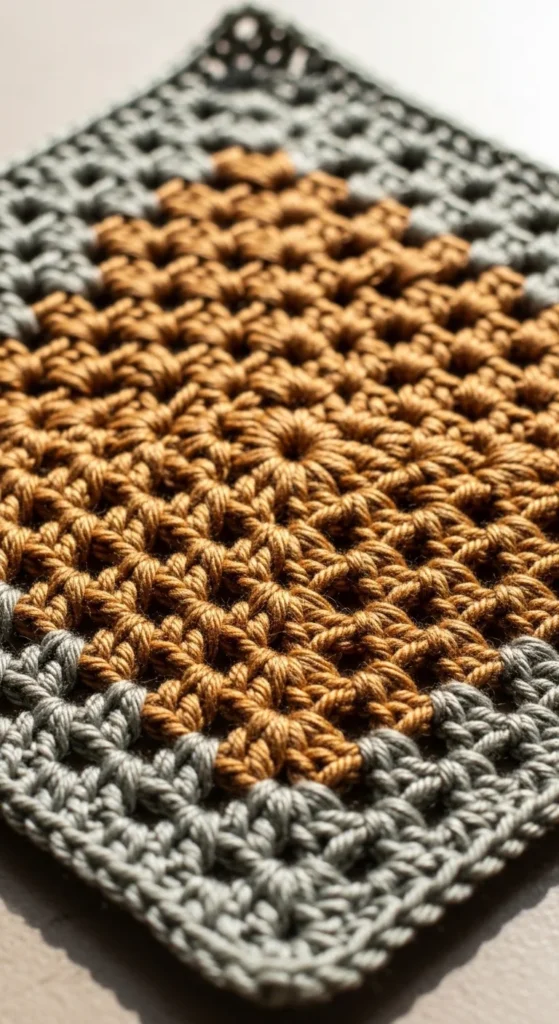
Adding More Rounds
You can keep adding rounds to make the square larger.
Each new round
- Work clusters into corner spaces
- Add one cluster into side spaces
- Use chain two at corners
- Use chain one between side clusters
The pattern repeats, which makes granny squares relaxing to crochet.
If changing colors, switch yarn at the end of a round for clean edges.
Keeping Your Granny Square Neat
Granny squares don’t have to be perfect, but a few habits help.
Helpful tips
- Keep stitches loose and even
- Count clusters if the square looks uneven
- Pull corner chains gently so they don’t gap too much
If the square starts to twist, lay it flat and gently adjust the corners.
Practice improves consistency quickly with this pattern.
Finishing Off the Granny Square
When your square reaches the size you want, it’s time to finish.
Finishing steps
- Slip stitch to close the round
- Cut yarn, leaving a 5–6 inch tail
- Pull the yarn through the loop
- Weave the tail into nearby stitches
This keeps your square secure and tidy.
You can block the square by lightly dampening it and laying it flat to dry. This helps straighten edges.
What to Make With Granny Squares
Once you know how to crochet one granny square, your options open up.
Beginner project ideas
- Baby blankets
- Cushion covers
- Tote bags
- Scarves
- Patchwork throws
You can make all squares the same color or mix colors for a playful look.
Final Thoughts
The classic granny square is a skill you’ll use again and again. It’s forgiving, repetitive, and easy to customize. Once the pattern clicks, crocheting feels calm and enjoyable.
🧶 Save this guide for later and try making your first granny square today—you’ll be surprised how quickly it comes together.

Leave a Reply