
Crochet flowers are small, cheerful, and incredibly satisfying to make. They’re perfect for decorating your home, adding charm to gifts, or using as accents on hats, bags, and blankets. The best part? Most crochet flowers work up quickly and use very little yarn, making them ideal for beginners and stress-free projects. This guide shows you how to crochet cute flowers step by step, using simple stitches and easy techniques you can enjoy anytime.
What You Need to Crochet Flowers
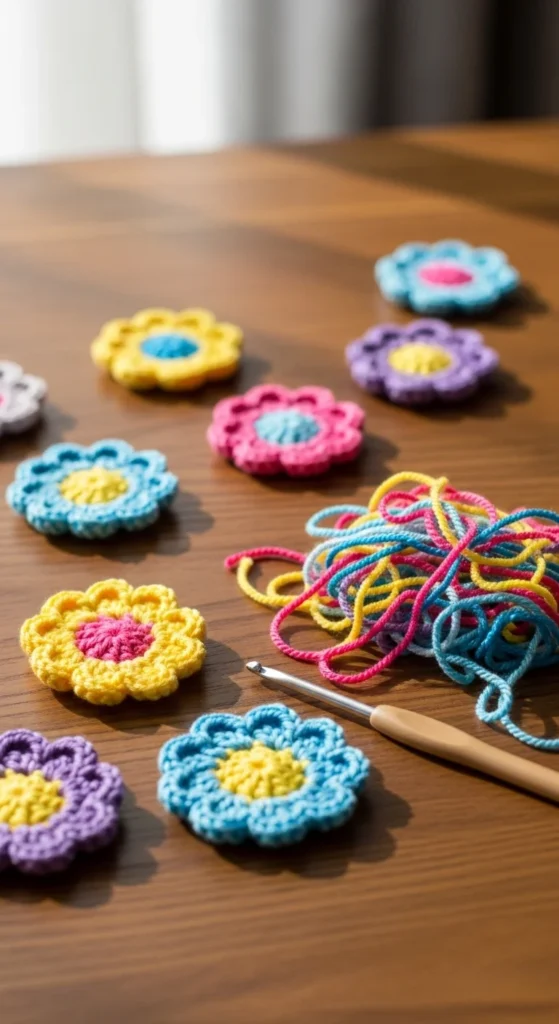
Crochet flowers don’t require much, which makes them great for using leftover supplies.
Basic supplies
- Light or medium-weight yarn
- Crochet hook (3.5 mm–5 mm works well)
- Scissors
- Yarn needle (optional)
Cotton yarn is popular for flowers because it holds shape well. Acrylic yarn works too and gives a softer look.
Using small yarn scraps is perfectly fine. Flowers are a great way to use leftover yarn from other projects.
Understanding the Simple Flower Structure
Most crochet flowers follow a similar structure:
- A small center ring
- Petals worked around the ring
- One or two rounds total
Once you understand this pattern, you can make many flower styles with small changes.
Flowers are usually crocheted in the round, not back and forth in rows.
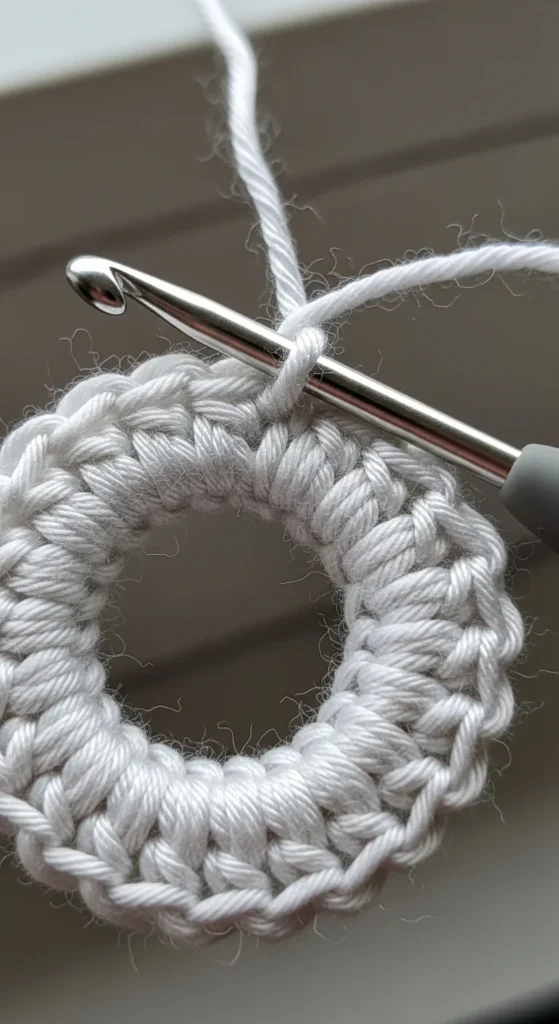
Starting With a Magic Ring or Chain Ring
Every flower begins at the center.
Beginner-friendly option
- Make a slip knot
- Chain four
- Join with a slip stitch to form a ring
This creates a solid base for petals.
Some patterns use a magic ring, which tightens completely. Either method works well for decorations.
Crocheting a Simple Five-Petal Flower
This is a classic beginner flower that looks cute on almost anything.
Petal steps
- Chain one
- Single crochet into the ring
- Chain two
- Double crochet into the ring
- Chain two
- Slip stitch into the ring
That completes one petal.
Repeat the steps five times around the ring. You’ll see a flower shape forming naturally.
Join with a slip stitch and tighten the center gently.
Adding Texture With Different Stitches
Once you’re comfortable, you can experiment with texture.
Easy ways to change the look
- Use half double crochet for fuller petals
- Add picot stitches for a scalloped edge
- Crochet two stitches into one space for ruffles
Even small stitch changes create a whole new flower style.
You don’t need to follow complex patterns. Simple experimentation works beautifully with flowers.
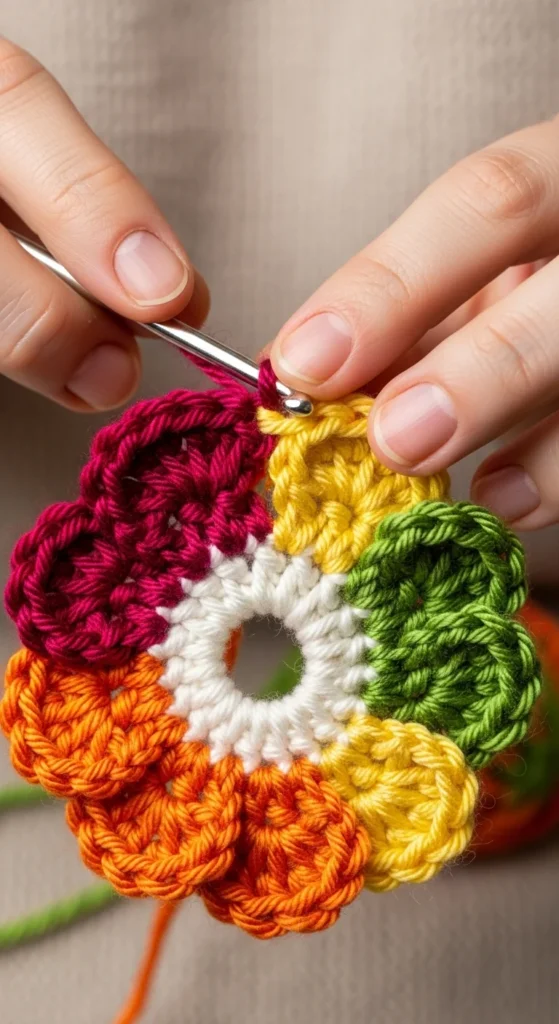
Changing Colors for Decorative Flowers
Color changes make crochet flowers pop.
Simple color change tip
- Finish the center round
- Cut yarn and join a new color
- Pull the new color through the loop
This works well for flowers with a contrasting center.
Pastels feel soft and decorative. Bright colors feel playful and bold. Neutral shades work well for modern decor.
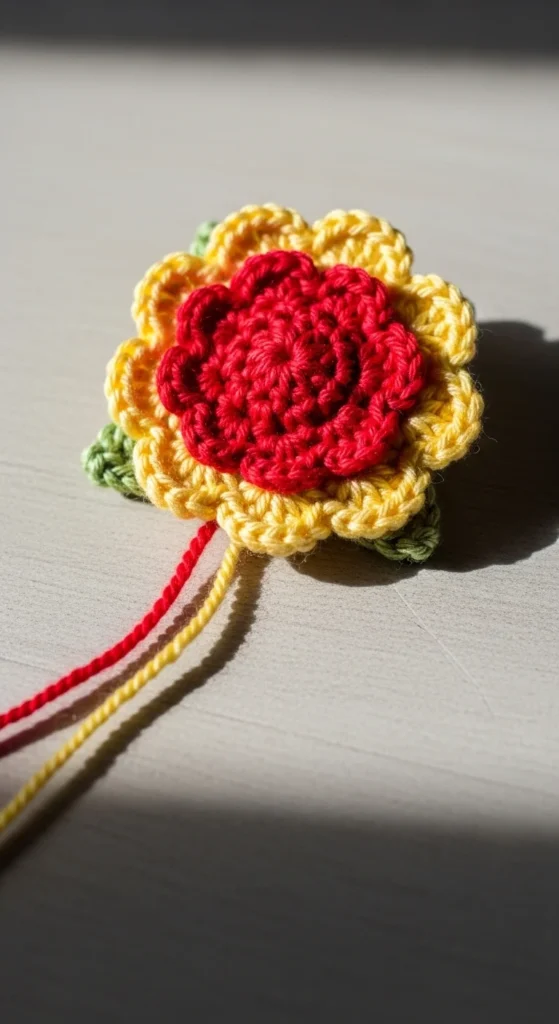
Finishing and Shaping the Flower
Once the flower is complete, tidy it up.
Finishing steps
- Cut yarn, leaving a short tail
- Pull the tail through the loop
- Weave in ends on the back
Gently shape the petals with your fingers.
If the flower curls, lightly steam it or press it flat with a warm iron placed nearby (not directly on yarn).
Easy Decoration Ideas Using Crochet Flowers
Crochet flowers are versatile and fun to use.
Simple decoration ideas
- Glue onto gift wrap or cards
- Sew onto cushions or blankets
- Attach to hair clips or headbands
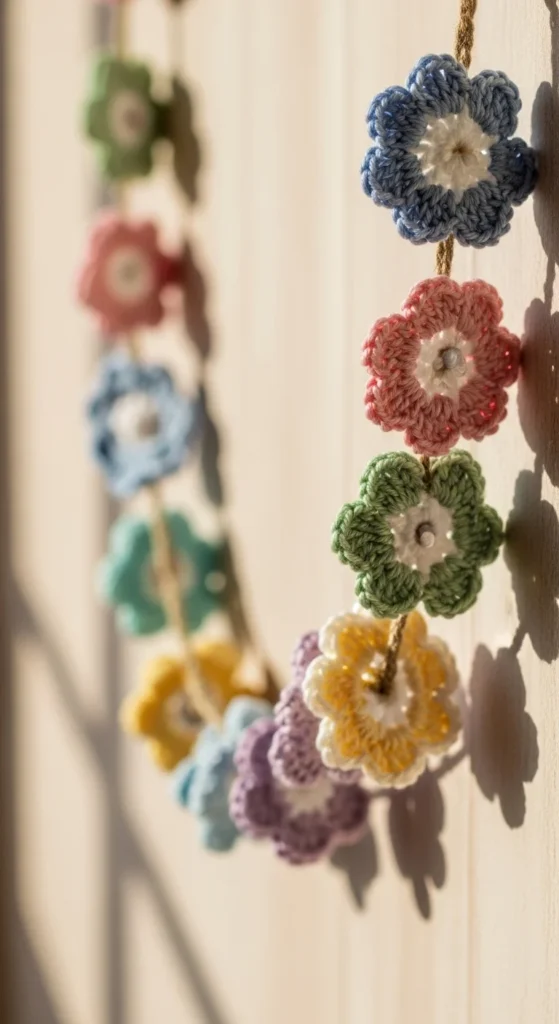
- String together for garlands
They also look lovely as table decorations or pinned to fabric boards.
Tips for Making Lots of Flowers Quickly
If you plan to make many flowers, keep things simple.
Time-saving tips
- Use the same hook and yarn weight
- Repeat one flower pattern
- Make flowers assembly-line style
Crochet flowers are relaxing and repetitive, making them perfect for short breaks or evenings.
Final Thoughts
Crochet flowers are small projects with big charm. They’re quick to make, easy to customize, and perfect for decorating just about anything. Whether you’re new to crochet or just want a fun, creative break, flowers are a great place to start.
🌸 Save this guide for later and start crocheting cute flowers today—your decorations will bloom in no time.

Leave a Reply