
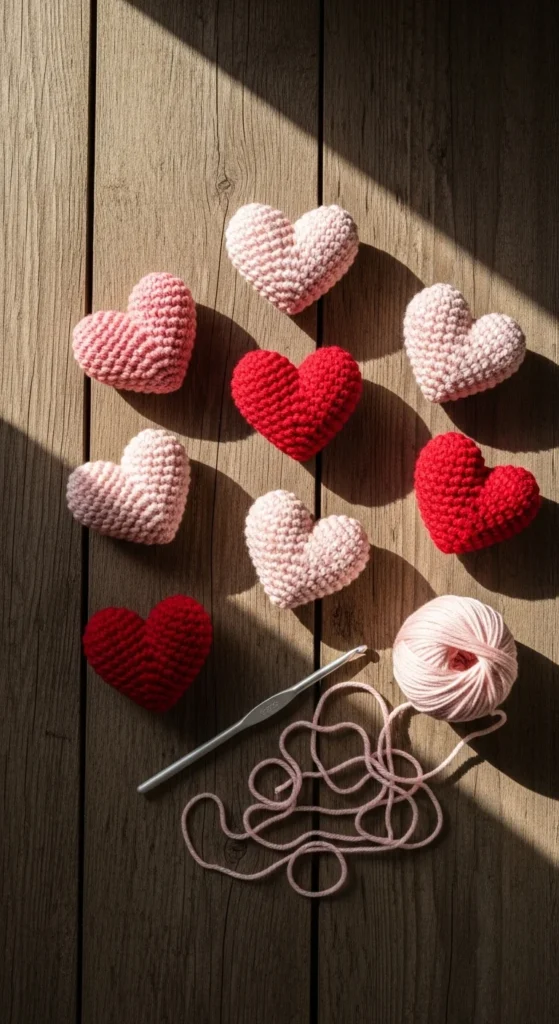
Tiny crochet hearts are small, quick, and full of charm. They’re perfect for adding a handmade touch to gifts, cards, keychains, garlands, and decorations. The best part is how fast they work up. Once you learn the steps, you can make one in just a few minutes. This guide shows you how to crochet a tiny heart using simple stitches and clear steps, even if you’re still a beginner.
What You Need to Crochet a Tiny Heart
Tiny hearts don’t require much, which makes them great for quick projects and leftover yarn.
Basic supplies
- Light or medium-weight yarn
- Crochet hook (3.5 mm–4.5 mm works well)
- Scissors
- Yarn needle (optional)
Cotton yarn holds shape well and gives crisp stitches. Acrylic yarn feels softer and works nicely too.
Scrap yarn is perfect for hearts. Even short pieces are enough for one or two hearts.
Understanding the Tiny Heart Shape
Most crochet hearts are made in one round. Instead of building rows, you crochet several stitches into a single ring.
The heart shape forms from:
- Rounded bumps at the top
- A pointed base at the bottom
Don’t worry if the shape looks odd at first. Once all stitches are finished, the heart comes together clearly.
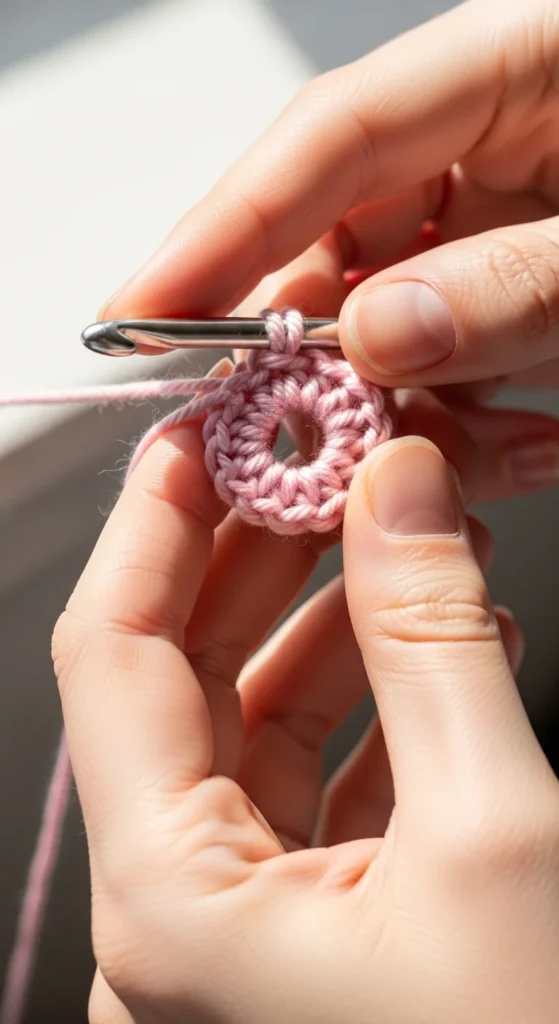
Starting With a Magic Ring
The heart begins at the center.
Magic ring steps
- Wrap yarn around your fingers to form a loop
- Insert the hook and pull up a loop
- Chain one to secure
The magic ring allows the center to tighten, giving the heart a clean look.
If magic rings feel tricky, practice once or twice. They get easier quickly.
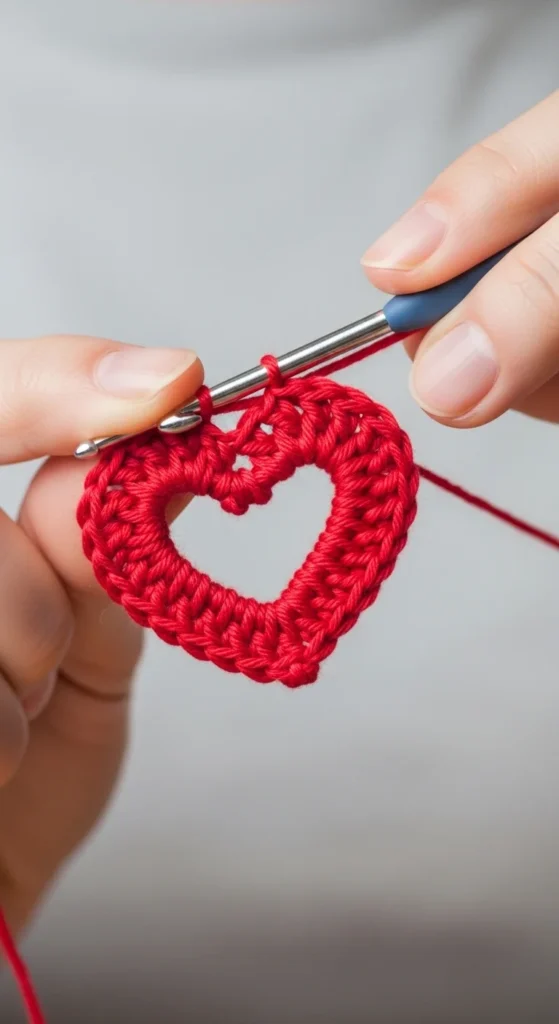
Crocheting the Heart Stitches
Now comes the fun part. All stitches go into the magic ring.
Tiny heart stitch order
- Chain two
- Work three double crochets into the ring
- Work three half double crochets into the ring
- Chain one
- Work one double crochet into the ring
- Chain one
- Work three half double crochets into the ring
- Work three double crochets into the ring
- Chain two
- Slip stitch into the ring
This sequence creates the two rounded tops and the pointed bottom.
Pull the ring tight gently to shape the heart.
Shaping the Heart Neatly
After completing the stitches, shape the heart with your fingers.
If the top curves look uneven, gently tug the stitches into place. Crochet hearts are flexible and forgiving.
Small adjustments make a big difference with tiny projects.
Finishing Off the Heart
Once the heart shape looks right, finish it cleanly.
Finishing steps
- Cut yarn, leaving a 4–5 inch tail
- Pull the tail through the loop
- Tighten gently
- Weave the tail into the back of the heart
You can hide the yarn tail completely or leave it long if you plan to sew or attach the heart to something.

Making Hearts in Different Sizes
You can change the size easily.
Simple size changes
- Use thinner yarn and a smaller hook for mini hearts
- Use thicker yarn and a larger hook for plush hearts
The stitch pattern stays the same. Only the materials change.
This makes it easy to create matching sets in different sizes.
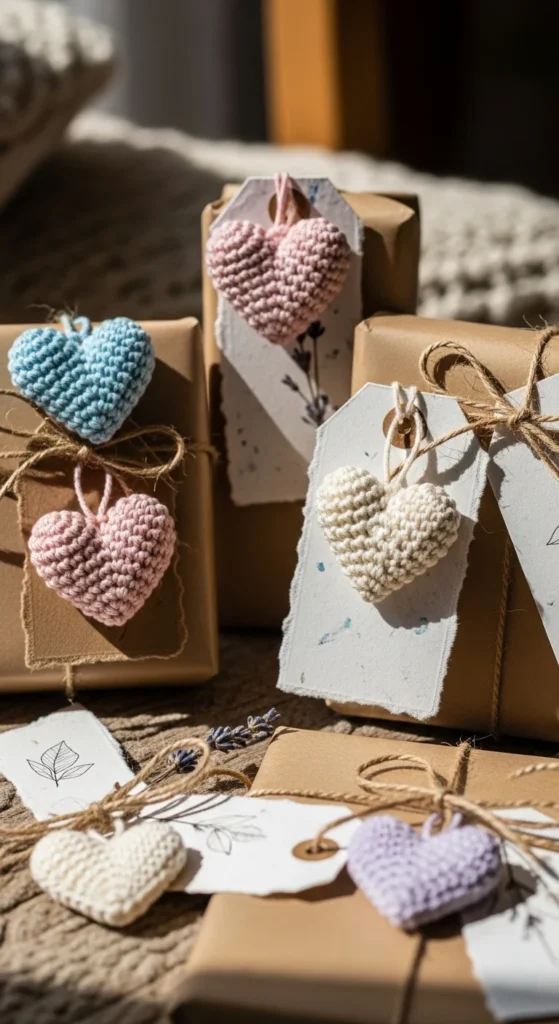
Cute Ways to Use Tiny Crochet Hearts
Tiny hearts are incredibly versatile.
Sweet project ideas
- Sew onto greeting cards
- Attach to gift wrap or tags
- String into garlands
- Add to hair clips or pins
- Use as appliqués on blankets or hats
They also work beautifully as keepsakes or party decorations.
Tips for Making Many Hearts Quickly
If you want to make several hearts, repetition helps.
Time-saving tips
- Use the same hook and yarn
- Make several magic rings first
- Crochet hearts assembly-line style
Once the stitch order is memorized, each heart takes only a few minutes.
Final Thoughts
Crocheting a tiny heart is a small project with a lot of personality. It’s quick, relaxing, and endlessly useful for sweet handmade touches. Whether you’re decorating, gifting, or just practicing stitches, tiny hearts are always a good idea.
❤️ Save this guide for later and start crocheting tiny hearts today—they’re perfect for adding love to any project.

Leave a Reply