

Creative vision board layouts help turn ideas into order. When your board feels organized, your plans feel calmer and easier to follow. Layout choice matters just as much as the images you use. A clear structure keeps goals visible without visual clutter. These layout ideas are practical, affordable, and easy to recreate at home using basic supplies. Each one focuses on clarity, balance, and simple planning habits that work in real life.
1. Grid-Based Vision Board Layout
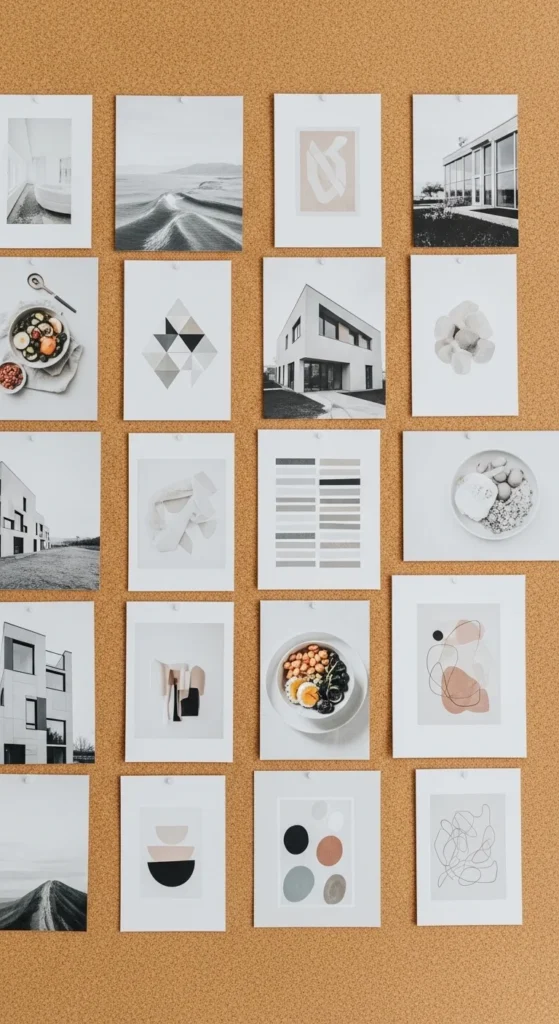
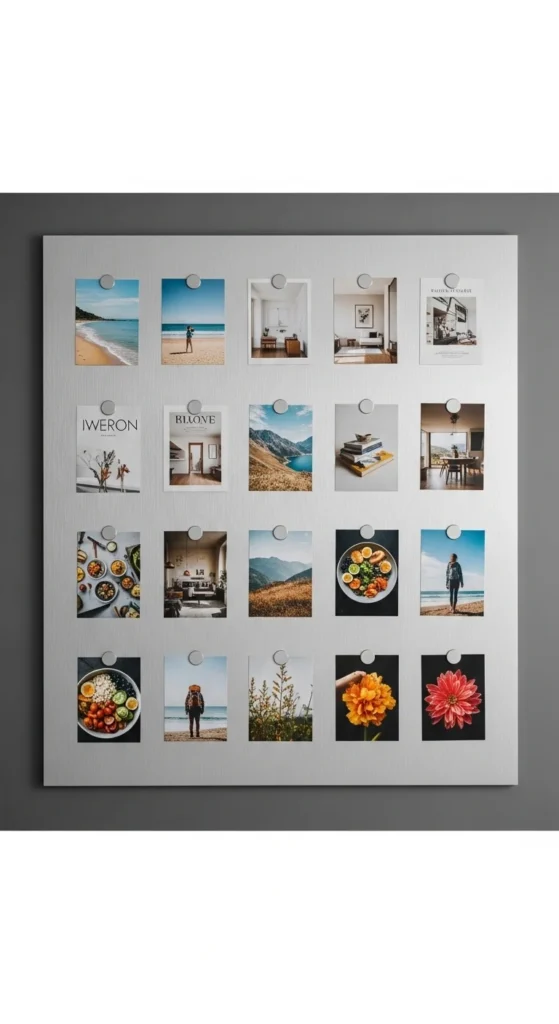
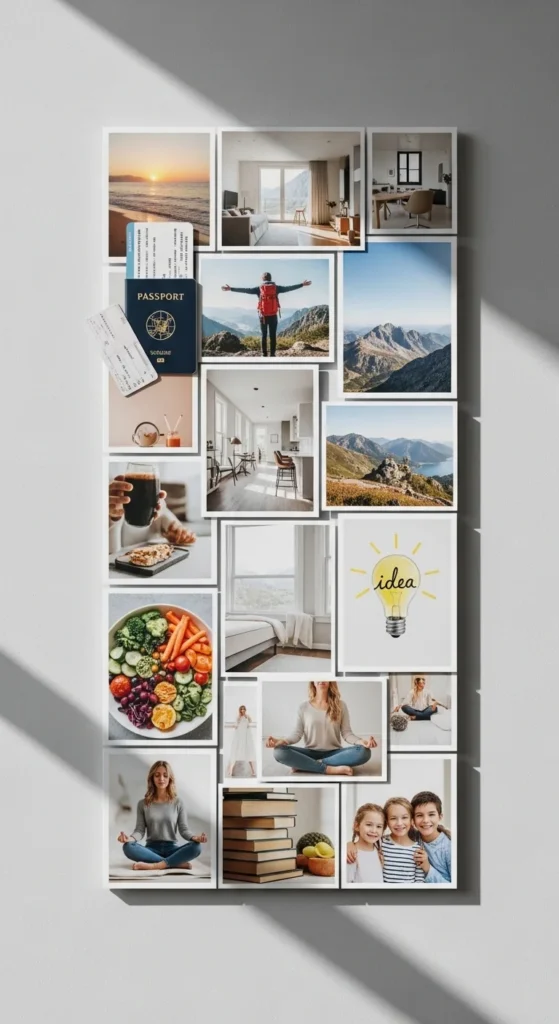
A grid-based layout brings instant order. Divide your board into equal sections using tape, string, or light pencil lines. Each square holds one image or theme. This keeps everything balanced and easy to scan.
You can assign each box a purpose. One for money. One for health. One for home. One for personal time. Use the same image size to keep the layout calm. If printing at home, trim pages evenly with scissors.
This layout works well for small boards and shared spaces. It looks tidy even when filled. If goals change, swap one square without touching the rest. That flexibility makes this layout easy to maintain over time.
2. Column-Style Vision Board
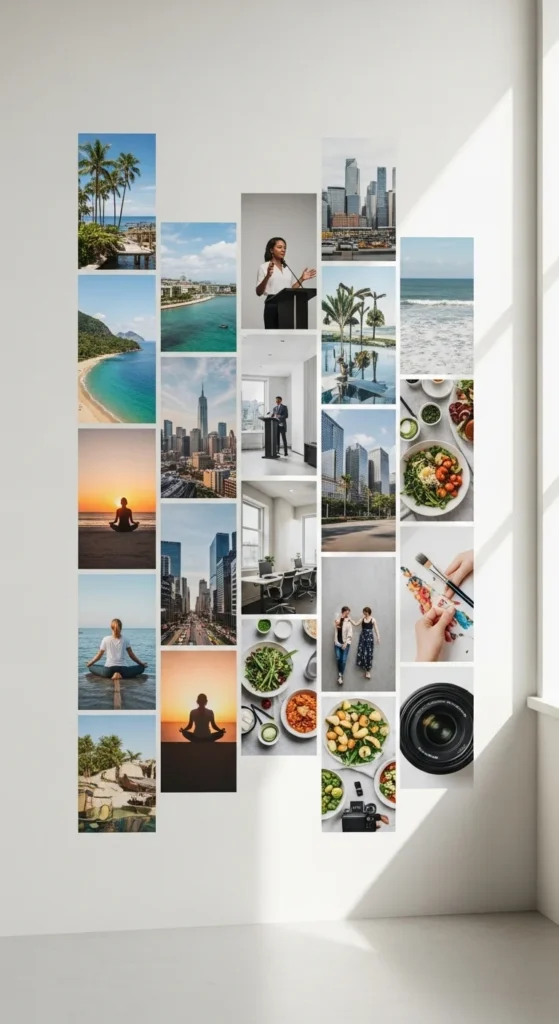
Column layouts guide the eye from top to bottom. Split the board into vertical strips. Each column represents a category or time frame.
You might use one column for short-term plans and another for long-term plans. Or group work, home, and personal goals side by side. Keep image widths consistent for a clean look.
This layout works well on doors or narrow wall spaces. Painter’s tape makes dividing lines easy and cheap. The structure helps keep ideas separated while still visible together.
3. Row-by-Row Layout
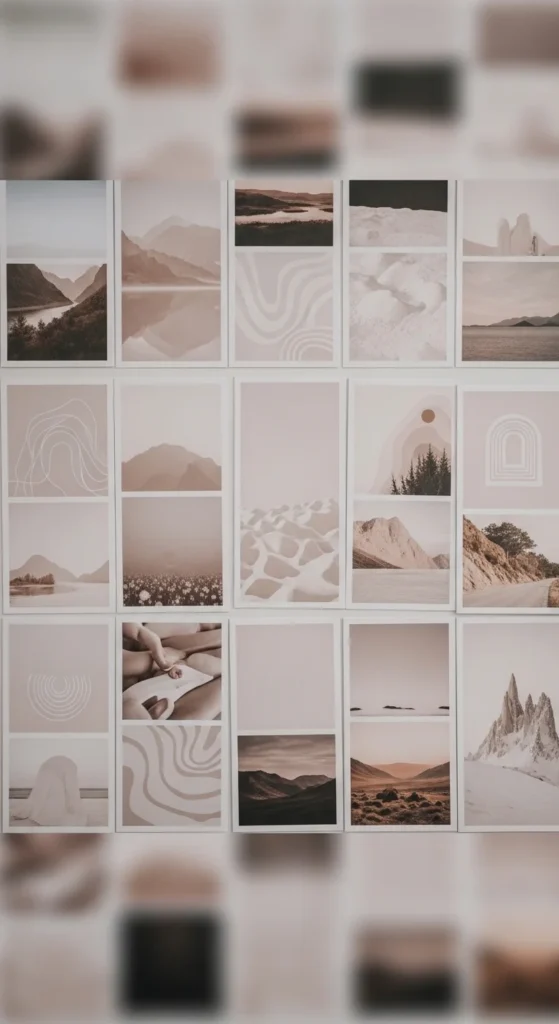
Row layouts feel calm and readable. Arrange images in horizontal lines across the board. Each row can represent a theme or part of your day.
For example, morning routines on top. Work goals in the middle. Evening rest at the bottom. This creates a natural flow.
Use simple background paper to keep rows defined. This layout suits planners who like visual order without strict boxes.
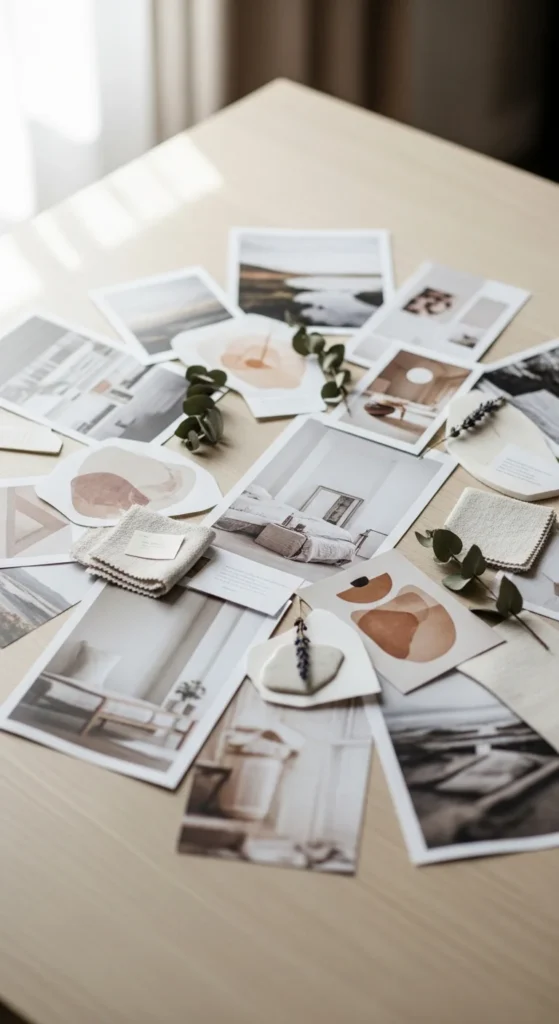
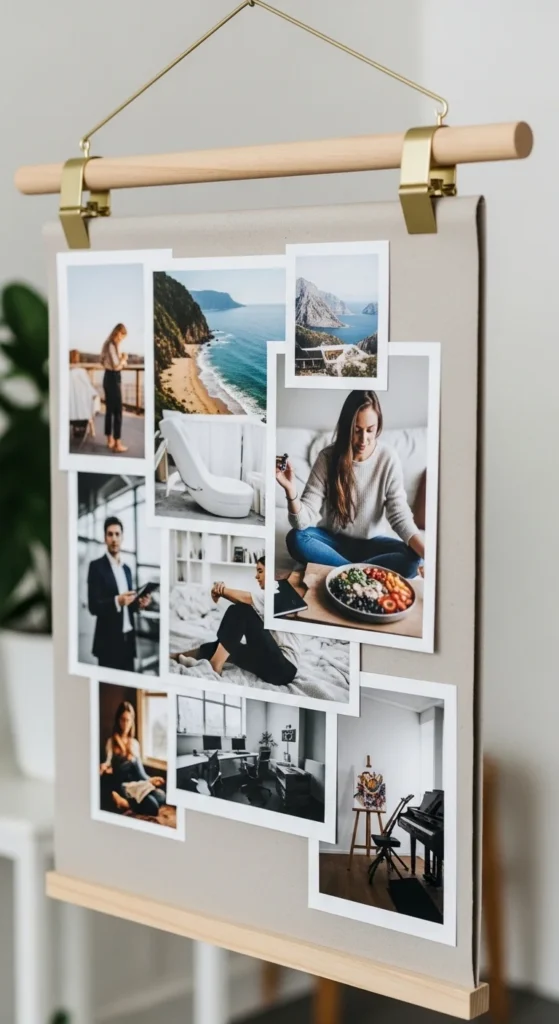
4. Central Focus Layout
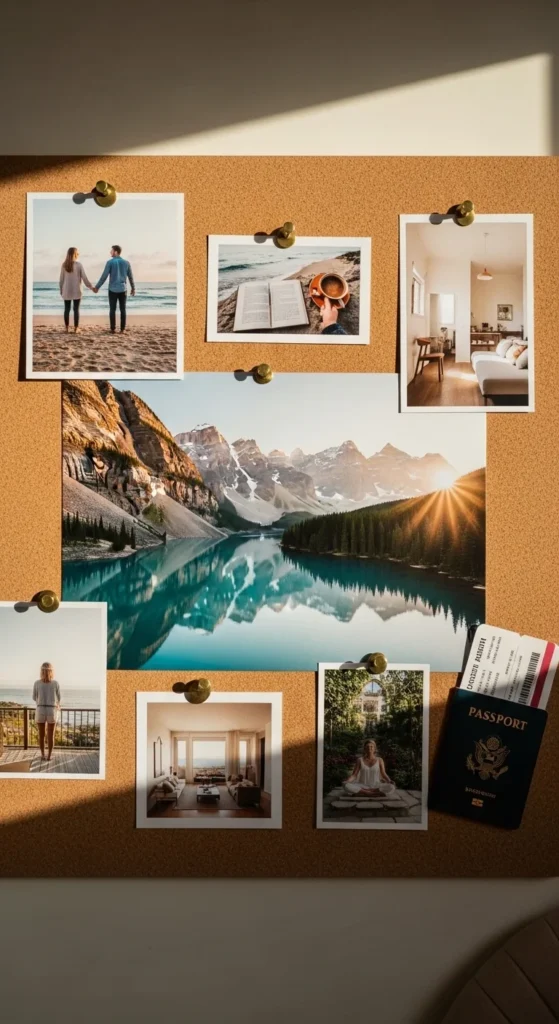
This layout starts with one main image in the center. Everything else supports it. Choose one priority goal and place it in the middle.
Surround it with smaller images that show steps or habits. This keeps focus clear and prevents overload.
It works well for short-term goals or seasonal planning. Use string or tape to subtly guide placement.
5. Minimal Corner Layout

Corner layouts use space wisely. Place images only in the corners, leaving the center open. This reduces visual noise.
Each corner can represent a theme. Keep images small and simple. This style fits small rooms and quiet spaces.
It’s also ink-friendly since fewer images are needed.
6. Timeline Vision Board
Timeline layouts show progress. Arrange images from left to right or top to bottom based on time.
This works well for yearly goals or projects. Use light tape to mark sections.
It helps you see pacing and direction clearly.
7. Symmetrical Layout
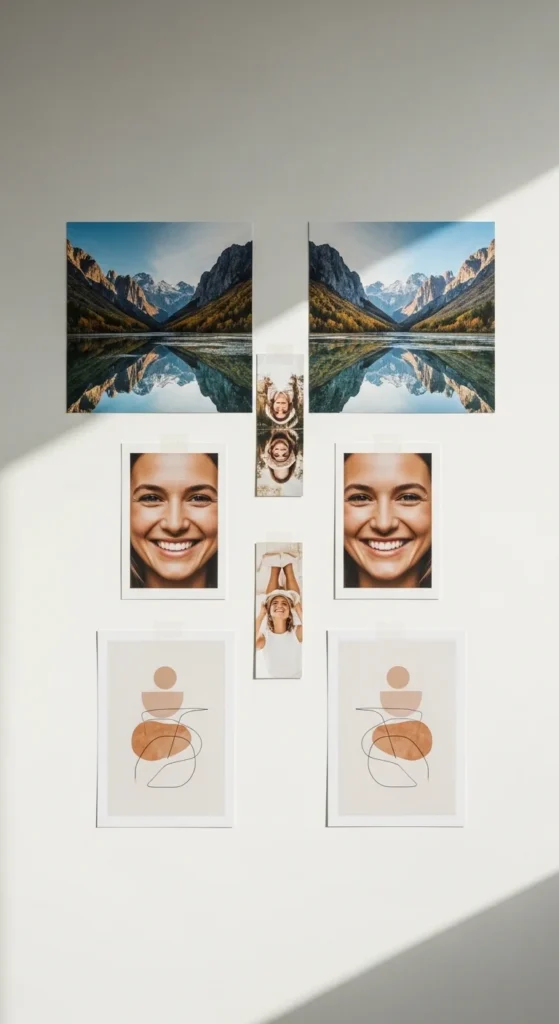
Symmetry brings calm. Place images evenly on both sides of the board.
Use matching sizes and spacing. This layout feels steady and tidy.
It suits people who like visual balance.
8. Binder Page Layout

Binder layouts keep things portable. Use clear sleeves and print images to fit.
Each page can hold one theme. This keeps everything organized and easy to update.
It’s budget-friendly and great for small spaces.
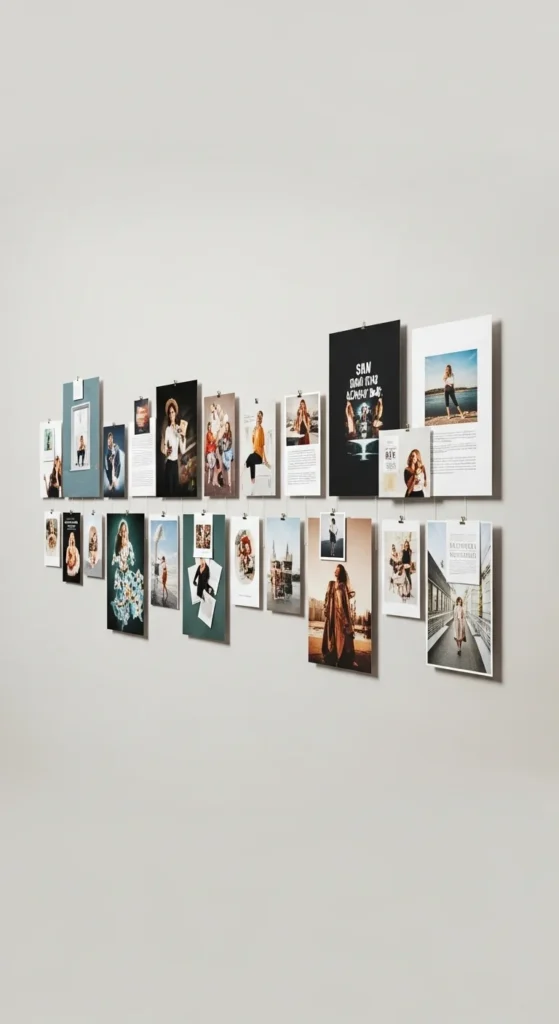
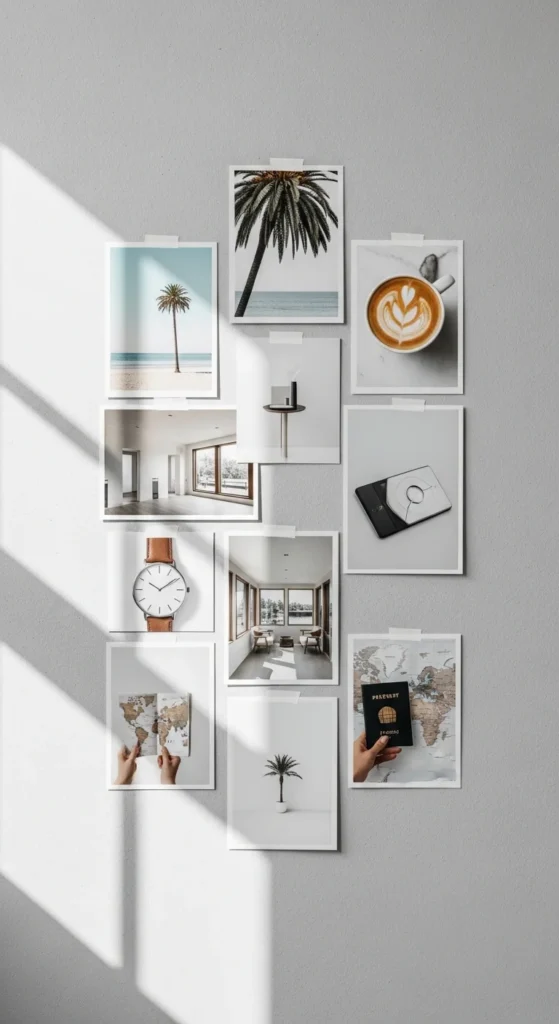
9. Wall Strip Layout
Wall strips work in tight spaces. Arrange images in a single horizontal or vertical line.
This keeps goals visible without clutter. Washi tape works well here.
10. Color-Coded Sections
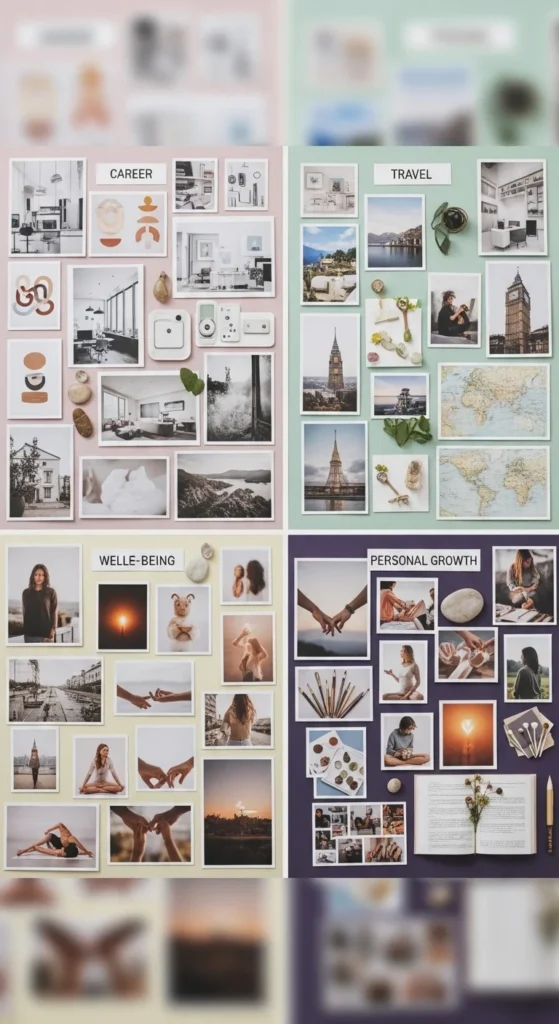
Color-coded layouts help separate themes. Use colored paper behind images.
Choose soft tones for a calm look. This helps quick visual sorting.
11. Circle Layout
Circle layouts feel connected. Arrange images around a central space.
This style works well for balance-focused planning.
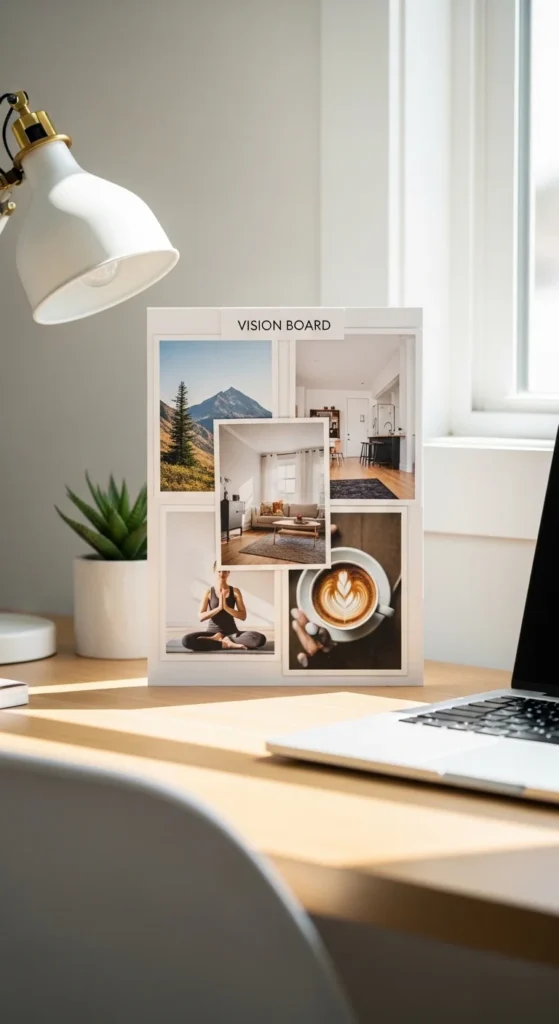
12. Desk Board Layout
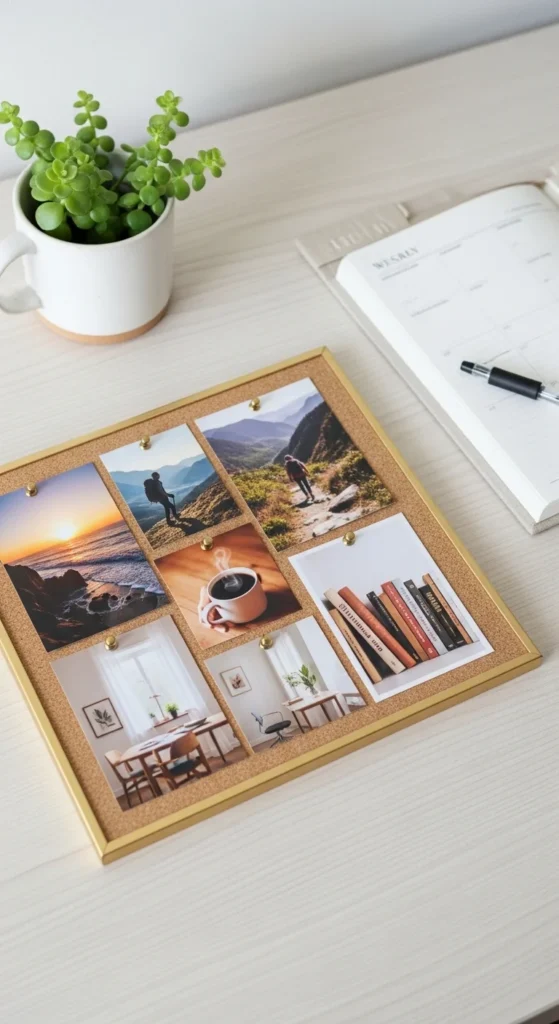
Desk boards keep goals close. Use small boards or clip frames.
Keep images limited to avoid distraction.
13. Closet Door Layout
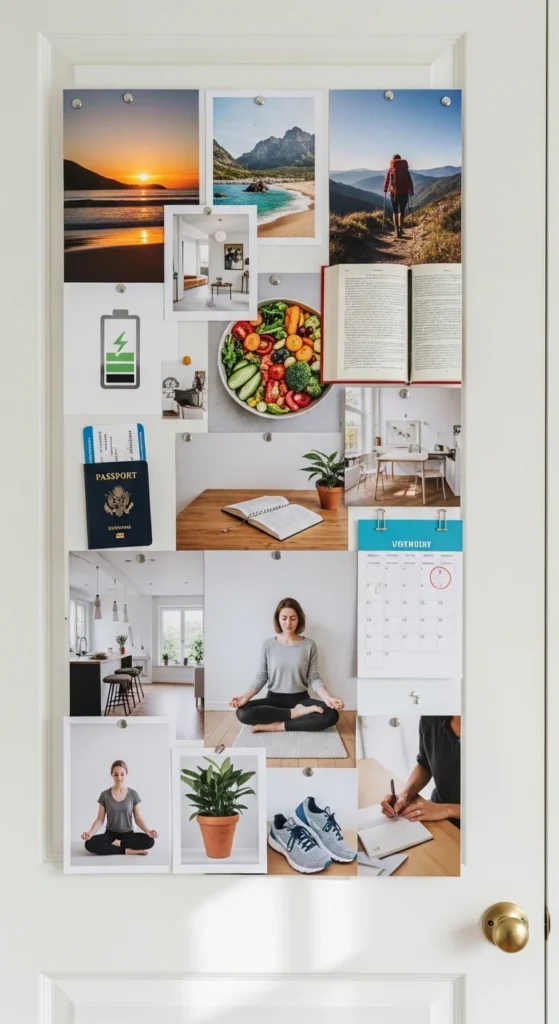
Closet layouts keep boards private. Use removable hooks or tape.
It’s easy to view daily without cluttering walls.
14. White Space Layout
White space helps ideas breathe. Use fewer images with space around them.
This keeps focus sharp and calm.
15. Seasonal Swap Layout
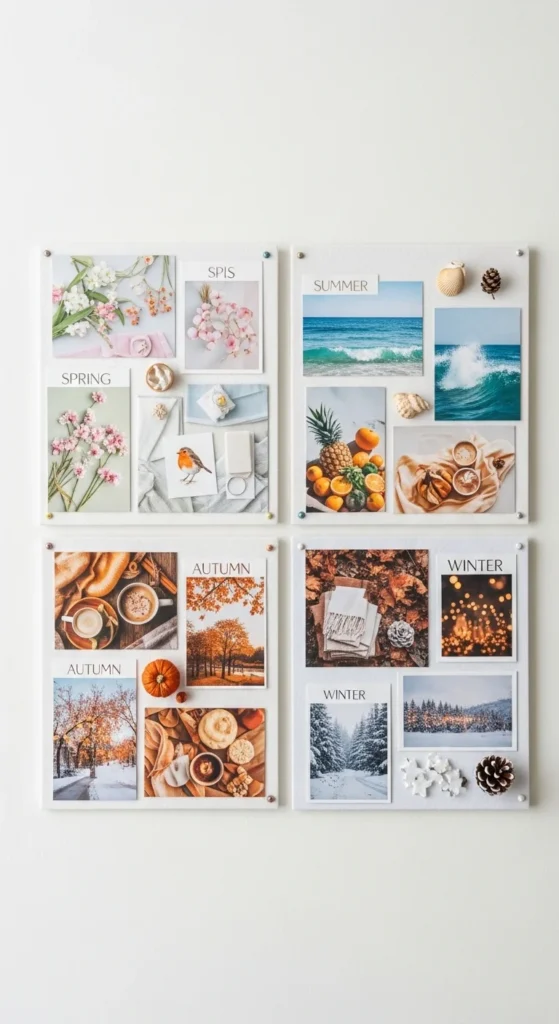
This layout allows easy updates. Use clips to swap images by season.
It keeps the board relevant year-round.
16. Pocket Folder Layout
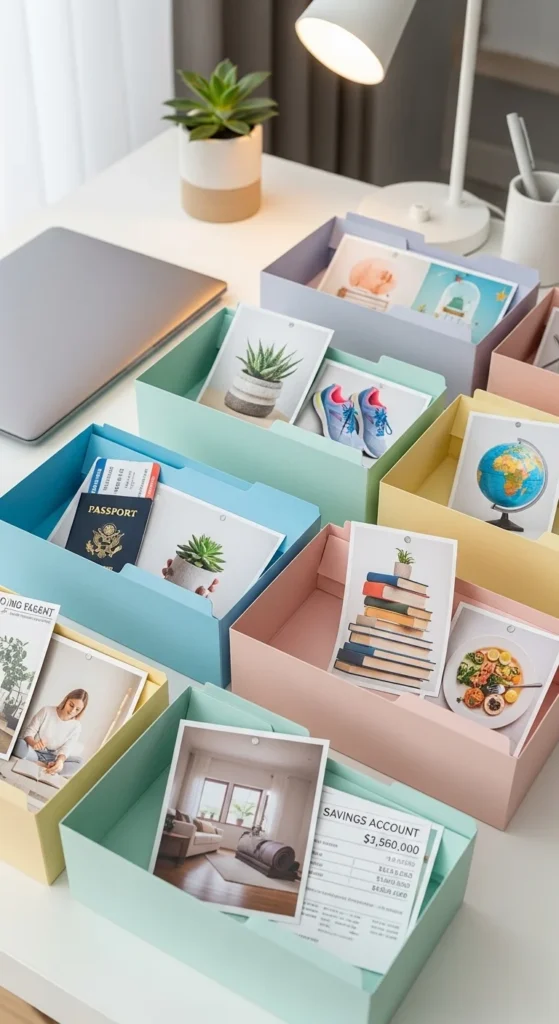
Pocket folders store extra ideas. Pull images out as focus shifts.
This reduces clutter on the main board.
17. Cork Grid Layout
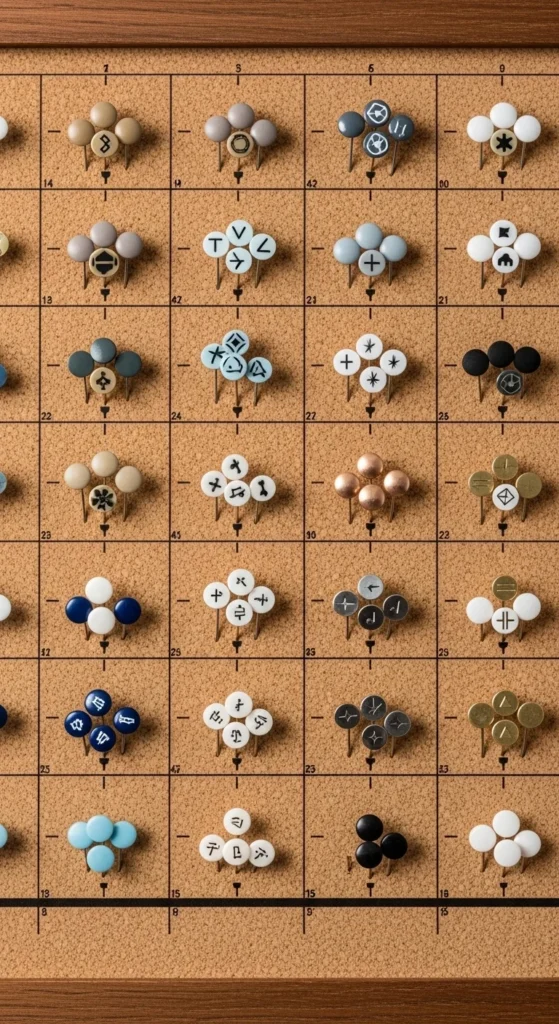
Cork grids are flexible. Pins allow easy movement.
Great for changing goals.
18. Magnetic Board Layout
Magnetic boards allow fast rearranging. Affordable magnets work fine.
Good for frequent updates.
19. Notebook Spread Layout
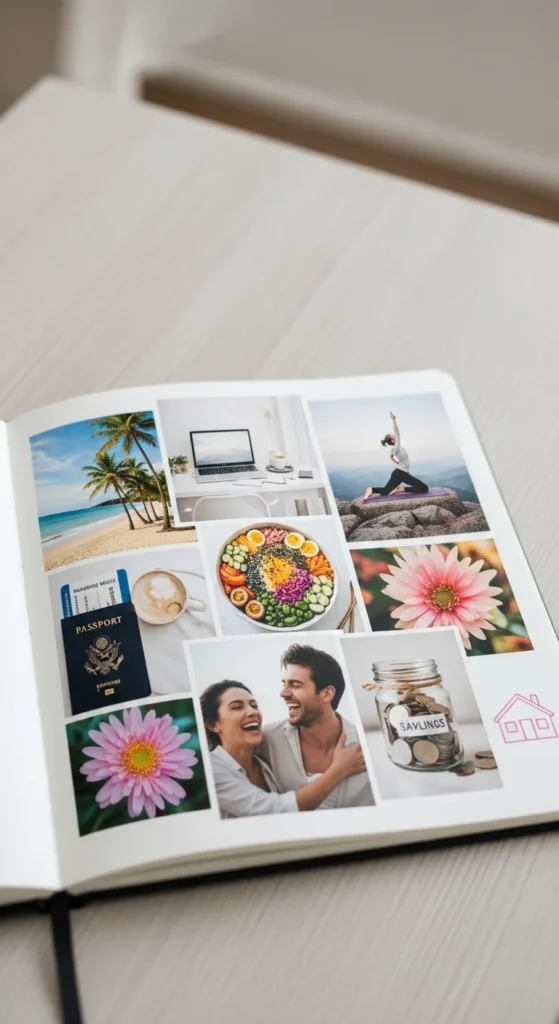
Notebook spreads keep planning portable. Use two-page layouts.
Great for journaling alongside visuals.
20. Frame-by-Frame Layout
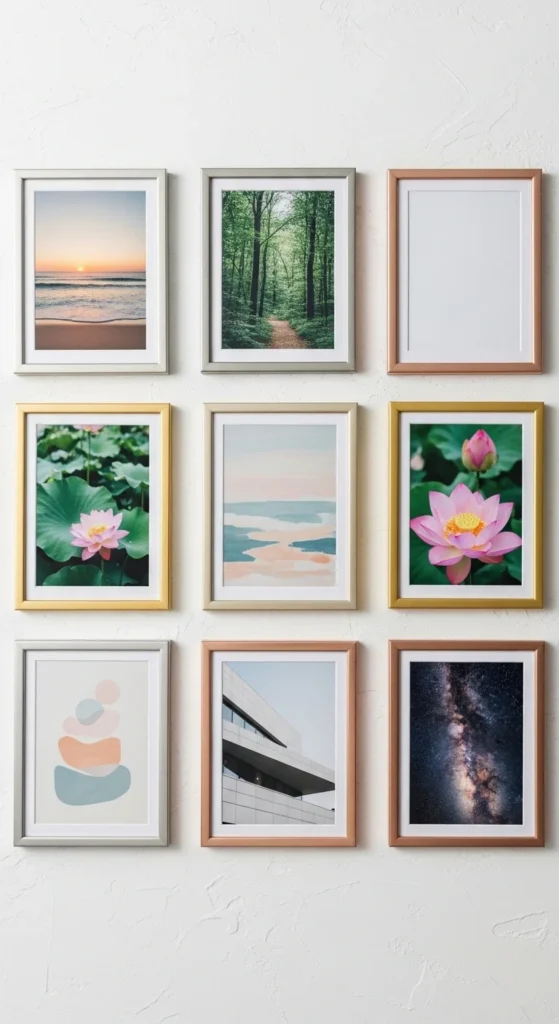
Frames keep images tidy. Use thrifted frames to save money.
This works well for walls.
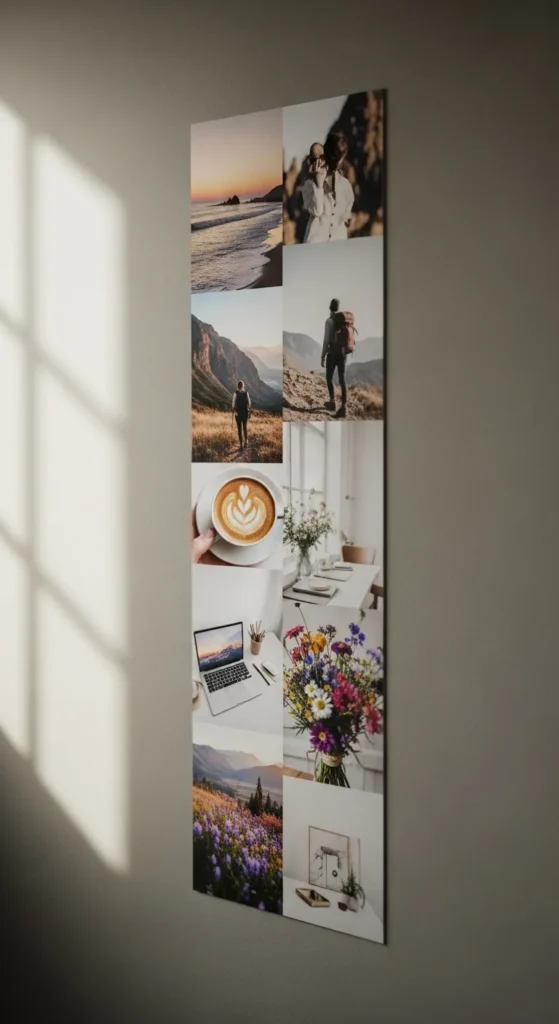
21. Minimal Photo Strip Layout
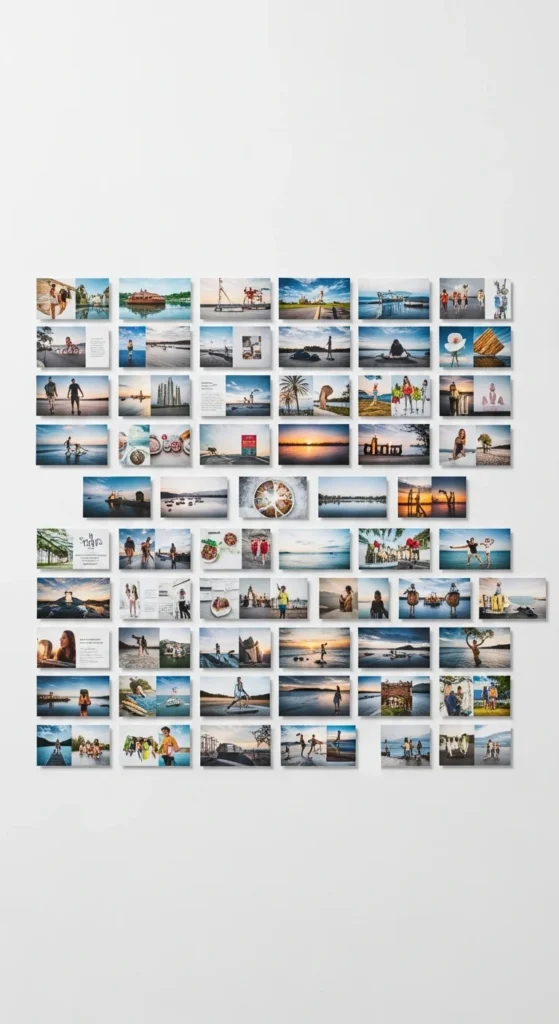
Photo strips limit choices. This keeps focus narrow and clear.
Perfect for habit tracking.
22. Soft Theme Zones

Zones guide focus without hard lines. Use light shading or spacing.
This feels gentle and organized.
23. Rolling Pin Board Layout
Fabric pin boards roll up when not in use. Simple and space-saving.
Great for renters.
24. Mirror-Side Layout
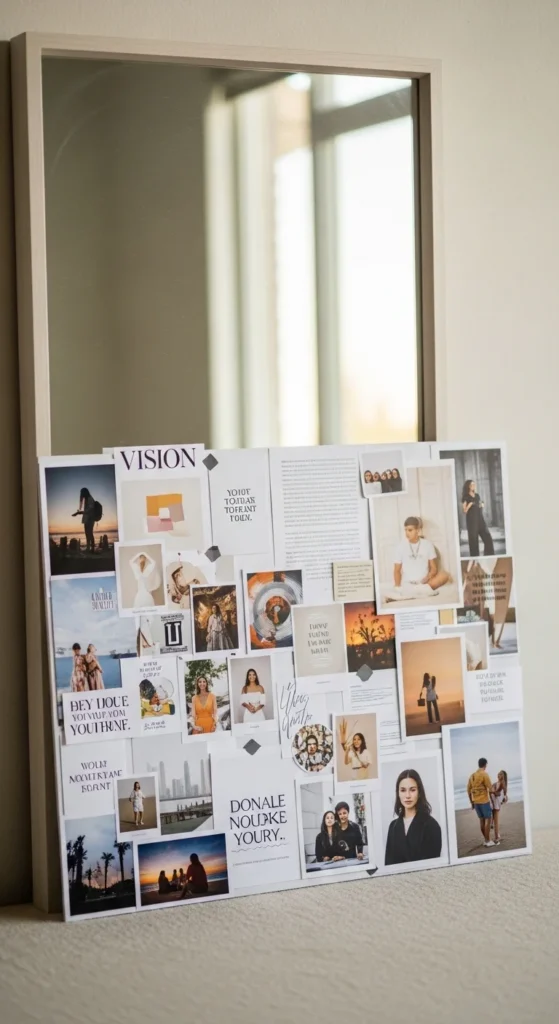
Mirror layouts pair reflection with planning. Keep images small.
This supports daily check-ins.
25. Vertical Planner Board
Vertical boards suit narrow walls. Stack images neatly.
This keeps goals visible without spreading out.
26. Clip Rail Layout
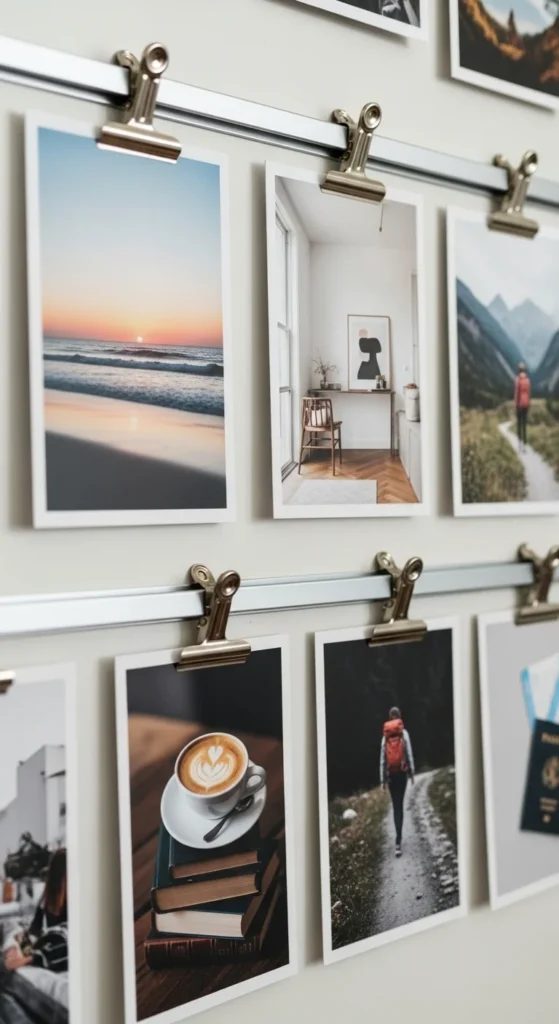
Clip rails make updates quick. Affordable clips work well.
Change images anytime.
27. Calm One-Page Layout
One-page layouts limit overwhelm. Choose only key visuals.
This keeps planning simple and clear.
Conclusion
An organized vision board layout makes planning feel lighter and more focused. Structure helps ideas stay clear instead of scattered. You don’t need special tools or extra space. Simple layouts, basic supplies, and thoughtful placement go a long way. Pick one layout, start small, and adjust as life changes. Clear visuals support steady action every day.

Leave a Reply