
Crochet tote bags are everywhere right now—and for good reason. They’re stylish, practical, and surprisingly easy to make, even if you’re still building confidence with crochet. Whether you want a casual everyday bag or a reusable market tote, this project lets you create something useful and on-trend with your own hands.
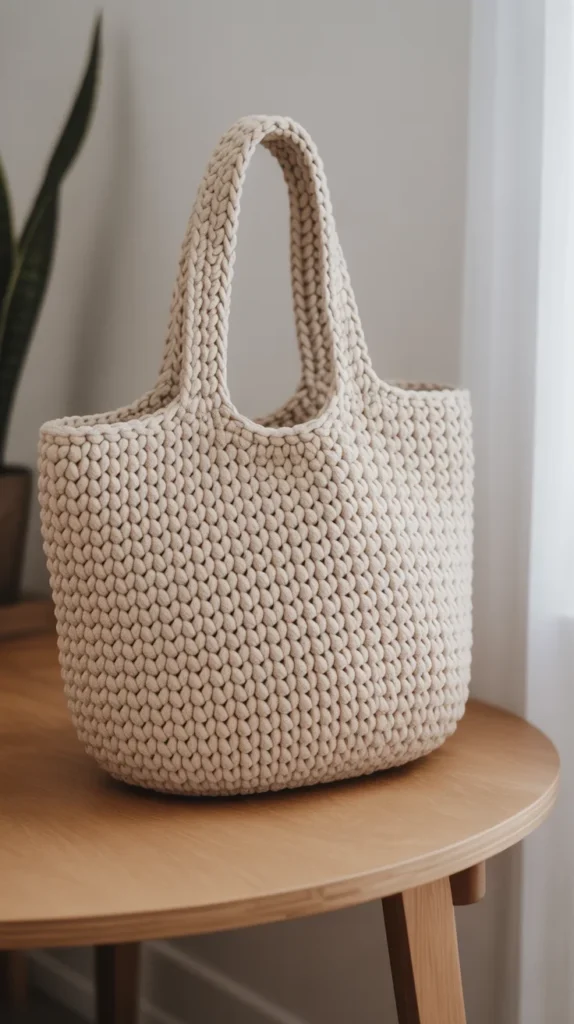
This guide walks you through the entire process step by step. No rushing. No complicated jargon. Just clear instructions, helpful tips, and a tote bag you’ll actually want to carry.
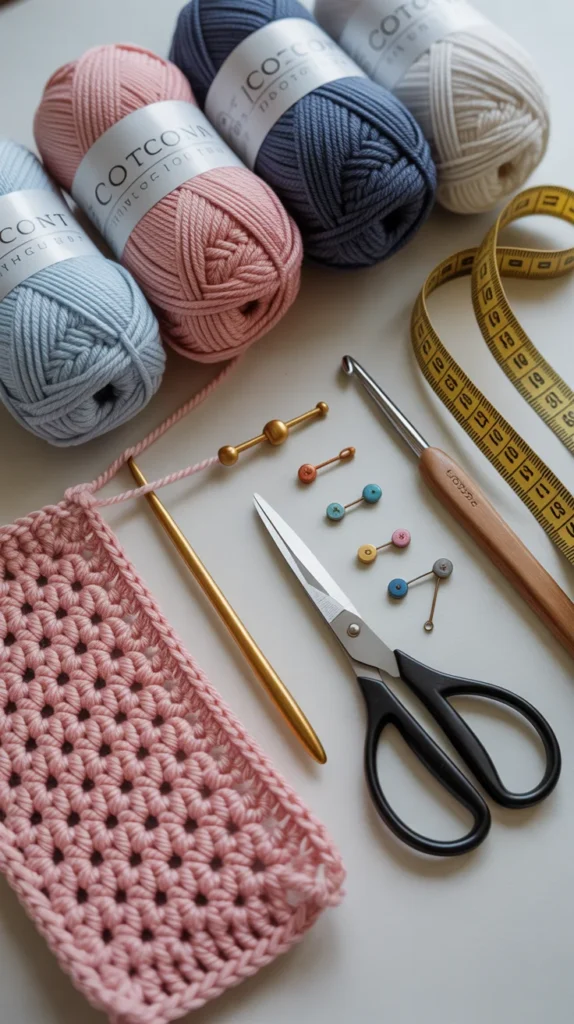
Step 1: Choose the Right Yarn and Hook
Before you start crocheting, your materials matter more than you think. The yarn you choose affects the bag’s shape, durability, and overall look.
Best yarn options for a tote bag
- Cotton yarn – Strong, washable, and holds shape well
- Cotton-blend yarn – Slightly softer with good structure
- Recycled cotton or cord yarn – Great for modern, sturdy totes
Avoid very stretchy yarns like acrylic for bags that will carry weight.
Hook size tips
- Use the hook size recommended on your yarn label
- For a firmer bag, go one hook size smaller
- Tighter stitches = less stretching over time
Step 2: Start With the Tote Base
Most trendy tote bags begin with a flat base. This creates a clean shape and makes the bag more practical for daily use.
Basic base method
You can choose one of these beginner-friendly options:
- Oval base (great for roomy totes)
- Rectangle base (modern and structured)
- Round base (casual and relaxed)
A simple rectangle base works well for your first tote.
How to crochet the base
- Chain the desired length (this sets the bag width)
- Single crochet across
- Work around both sides of the chain
- Increase at the corners to keep the base flat
Keep going until the base matches the size you want.
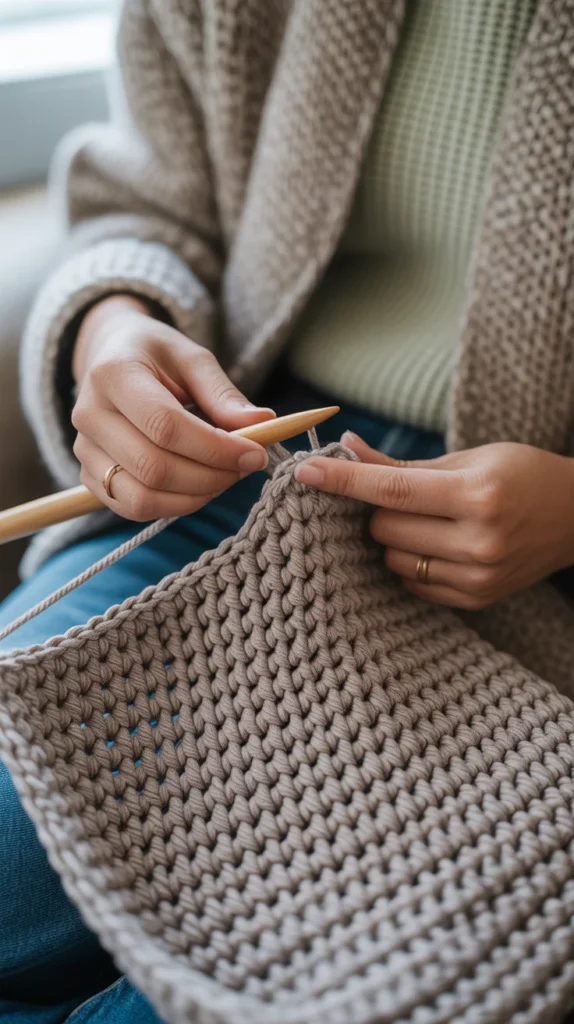
Step 3: Build the Body of the Tote
Once the base is ready, the fun part begins—watching the bag take shape.
Transition from base to body
- Stop increasing stitches
- Crochet evenly in each stitch
- This creates the bag’s vertical sides
Stitch ideas for a trendy look
- Single crochet – Clean and sturdy
- Half double crochet – Slight texture, still strong
- Linen stitch – Popular for modern totes
Keep your stitch count consistent. Use stitch markers if needed to track rounds.
Height guidelines
- Small tote: 8–10 inches
- Medium tote: 10–12 inches
- Market tote: 12–14 inches
Try holding the bag against your body as you go to check proportions.
Step 4: Add Stylish Handles
Handles make or break a tote bag. They should look good and feel comfortable.

Simple handle options
- Built-in handles: Skip stitches, chain, then crochet over the chain
- Crocheted straps: Make two separate straps and sew on
- Reinforced handles: Slip stitch or single crochet back across for strength
Handle tips
- Keep handles wide, not thin
- Test the length by placing it over your shoulder
- Reinforce stress points where handles attach
For extra durability, crochet tightly or add a fabric lining later.
Step 5: Finish the Bag Neatly
This step turns a homemade project into a polished piece.
Clean finishing checklist
- Slip stitch and fasten off securely
- Weave in all loose ends
- Lightly block the bag if needed
- Trim any uneven yarn strands
Optional upgrades:
- Add a fabric lining
- Attach a magnetic snap
- Sew on a small inside pocket
Step 6: Customize Your Tote
This is where your bag becomes truly yours.
Easy customization ideas
- Use two-tone yarn for stripes
- Add a texture panel near the top
- Crochet a charm or tassel
- Switch colors halfway up the body
You can also adjust:
- Bag size
- Handle length
- Stitch pattern
One pattern can create dozens of unique looks.
Common Beginner Mistakes (and How to Avoid Them)
- Bag stretching too much → Use tighter stitches and cotton yarn
- Uneven sides → Count stitches at the end of each round
- Handles sagging → Reinforce or crochet them thicker
Mistakes are part of learning. Every tote gets better.
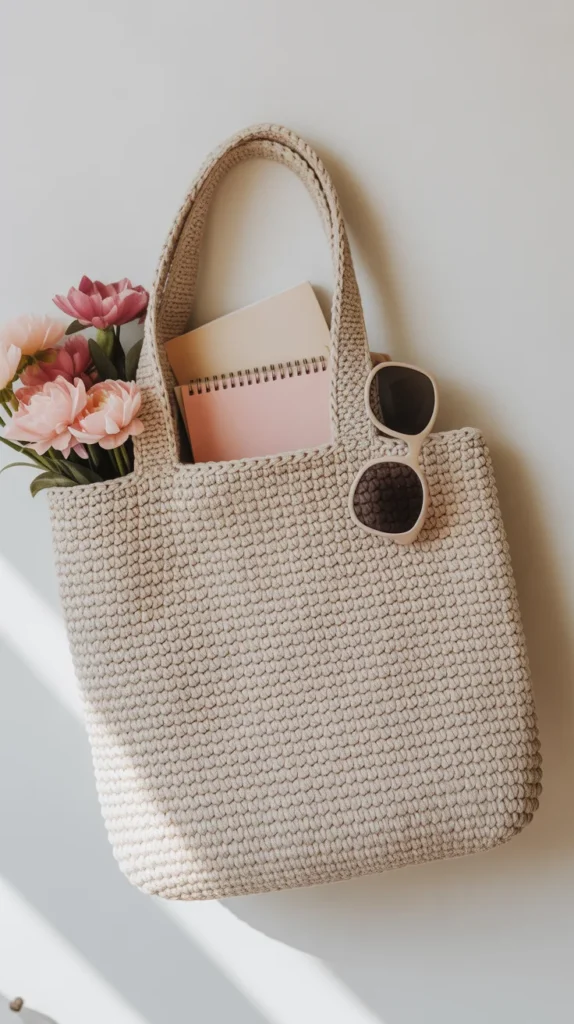
Final Thoughts
Crocheting a trendy tote bag is one of the most satisfying projects you can make. It’s practical, stylish, and beginner-friendly—plus it makes an amazing handmade gift.
Once you finish one, you’ll probably want to make another in a different color or size.
✨ Save this tutorial for later, grab your yarn, and start crocheting your own trendy tote today!

Leave a Reply