

Printify can feel confusing at first—so many products, providers, settings, and buttons. But once you understand the flow, it’s actually simple: create a product → add your design → set pricing → publish to your store → fulfill orders automatically. This beginner guide walks you through the exact steps, plus the common mistakes that slow people down.
Step 1: Create Your Printify Account (Fast Setup)
Go to Printify and sign up with an email and password. You can start free.
Before you click around, add basic information early:
- Store/business name (even if you’re just testing)
- Country and currency
- Time zone
- Billing info (optional at first, but helpful later)
Quick tip: If you plan to sell on Etsy, keep your shop name and branding consistent from day one. It makes your listings look more trustworthy.
Step 2: Connect Your Store (Etsy or Shopify)
Your next move is integration. This is where Printify becomes “hands-off.”
If you sell on Etsy:
- Go to Manage My Stores
- Click Connect
- Choose Etsy
- Approve permissions so Printify can sync products and orders
Common beginner issue: orders not syncing. Usually it’s because:
- You connected the wrong Etsy account
- Your production partner details aren’t added correctly
- Your products were created but never published
Once connected, Printify can pull orders automatically and send them to production.

Step 3: Choose Beginner-Friendly Products That Sell
Printify has a large catalog, but you don’t need to start with everything.
Start with 1–2 products that are easy to sell and easy to understand:
- T-shirts (classic starter product)
- Mugs (gift-friendly and simple)
- Hoodies (higher profit potential, later)
When choosing a product, filter smart:
- Pick a provider located near your main buyers (example: US providers for US buyers)
- Compare:
- Base cost
- Shipping cost
- Production time
- Reviews/ratings
Beginner rule: Don’t chase the cheapest base price if the provider has slow production or weak quality. Late orders can hurt reviews.
Step 4: Upload Your Design Correctly (Canva-Friendly)
If you use Canva, export your designs as:
- PNG
- Transparent background (if needed)
- High resolution (aim for print-quality)
When you upload inside Printify, always check:
- Placement (center it, align it)
- Scaling (not too small, not too large)
- Safe area (avoid edges)
Easy design workflow:
- Start with simple text + small icon
- Make 3 variations (color, phrase, small layout change)
- Reuse the same template for faster listing creation
If your design looks blurry in preview, don’t publish it. Fix it first.

Step 5: Use Printify Mockups to Make Your Listings Look Real
Mockups are your product photos—people rely on them to decide.
Printify includes a mockup generator that helps you create:
- Front view
- Back view (if relevant)
- Multiple colors
- Lifestyle-style shots (depending on product/provider)
Mockup tips that increase clicks:
- Use one strong “main” image
- Add 2–3 supporting angles
- Add a close-up style image if available
- Keep backgrounds clean
If you want extra polish, download the mockup and add it to a Pinterest pin later.
Step 6: Set Pricing and Profit the Simple Way
Pricing is where beginners get stuck. Keep it practical.
Your pricing should cover:
- Product base cost
- Shipping
- Etsy/Shopify fees
- Your profit
Simple goal:
- Aim for a healthy margin (many sellers aim for around 40% on a typical item)
How to do it quickly:
- Use Printify’s profit calculator (if available per product)
- Check competitors on Etsy for price range
- Start with a price that leaves room for a small discount later
Avoid pricing too low “to get sales.” Low prices often attract difficult customers and leave you no margin for mistakes.
Step 7: Turn On Automatic Order Approval (So You Don’t Miss Orders)
One of the best Printify features is automatic order processing.
Turn on automatic approval so orders don’t sit waiting for you.
Why this matters:
- Faster fulfillment
- Fewer delays
- Less stress
If you prefer control, keep manual approval for your first few orders. Once you trust the system, switch to auto.
Also check order routing (if you use it):
- It can route to a faster or cheaper provider if one goes out of stock
- You can override manually if you want
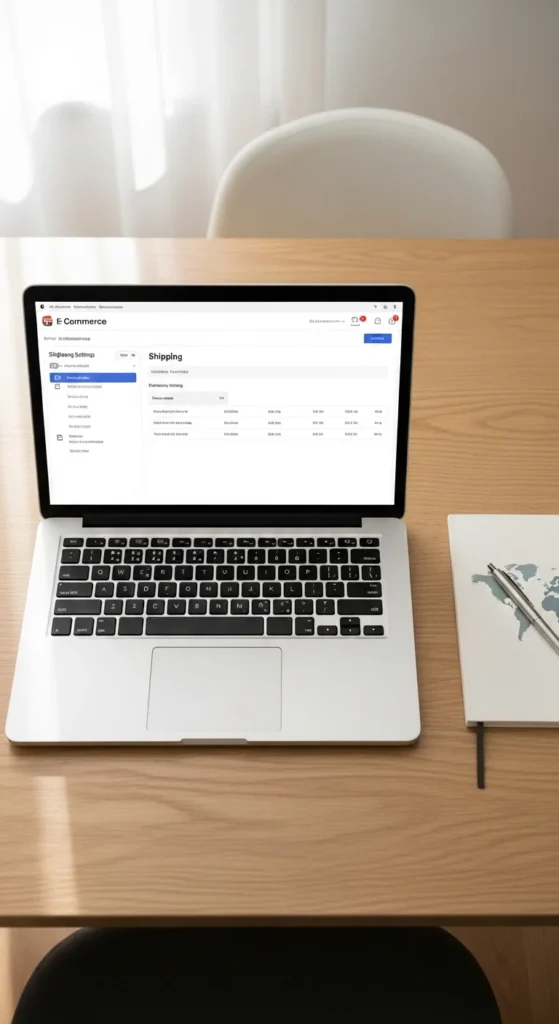
Step 8: Set Up Shipping Profiles Properly (Especially for Etsy)
This part matters for customer trust.
For Etsy, make sure:
- Your processing time matches the provider’s production time
- Shipping options make sense for your target countries
- Your “ship-from” address is set correctly in Printify
If you plan to sell internationally:
- Start with US + your main countries first
- Add more later once you understand delivery timing
Step 9: Use Printify Premium (Only When It Makes Sense)
Printify offers a paid plan that can reduce product costs.
For beginners, a simple rule works:
- Start free
- Upgrade only when your monthly order volume makes the savings worth it
If you’re getting consistent orders, Premium can help margins. If you’re still testing, free is fine.
Step 10: Watch for “Unsynced Orders” and Fix Problems Fast
If something goes wrong, Printify often flags it.
Check your dashboard for:
- Unsynced orders
- Payment issues
- Design file errors
- Out-of-stock provider warnings
A common fix is simple:
- Refresh the store connection
- Republish the product
- Recheck shipping profile settings
Also consider adding funds to your Printify wallet so orders don’t fail due to payment issues.
Final Takeaway
Printify becomes easy when you follow the same loop every time: pick a product → upload a clean design → set profit-friendly pricing → publish → automate fulfillment. Start small with 10 listings, focus on clean mockups and strong keywords, and improve based on what people click.
Save this guide for later, and if you want, tell me your niche (like “gardening,” “cozy gamer,” or “local pride”) and I’ll generate 10 beginner product ideas + Etsy title/tag templates for Printify.

Leave a Reply