
You can open an Etsy print-on-demand (POD) shop in a weekend… and still wait weeks for a first sale if you skip the right basics. The fastest path is not “list more stuff.” It’s picking a niche with real demand, creating a small set of listings that look trustworthy, and writing titles/tags that match what people already search.
This guide walks you through a simple plan to go from zero to first sale—without expensive tools or design skills.
Step 1: Validate a Niche Before You Design Anything
Before you create designs, prove people are already buying.
Quick niche validation on Etsy:
- Search your idea (example: “gardening mom shirt”).
- Look for bestseller badges, lots of recent reviews, and items sitting in carts.
- Open top listings and note:
- Price range
- Photo style (lifestyle vs flat mockup)
- Personalization options (names, years, city)
If you want a beginner-friendly niche path, focus on:
- Hobbies: gardening, gaming, crochet, chicken keepers
- Identity + humor: “dad core,” cozy gamer, book lovers
- Local pride: small town merch, hometown gifts
Pick one niche and stick to it for your first 10–20 listings. A focused shop looks more trustworthy.
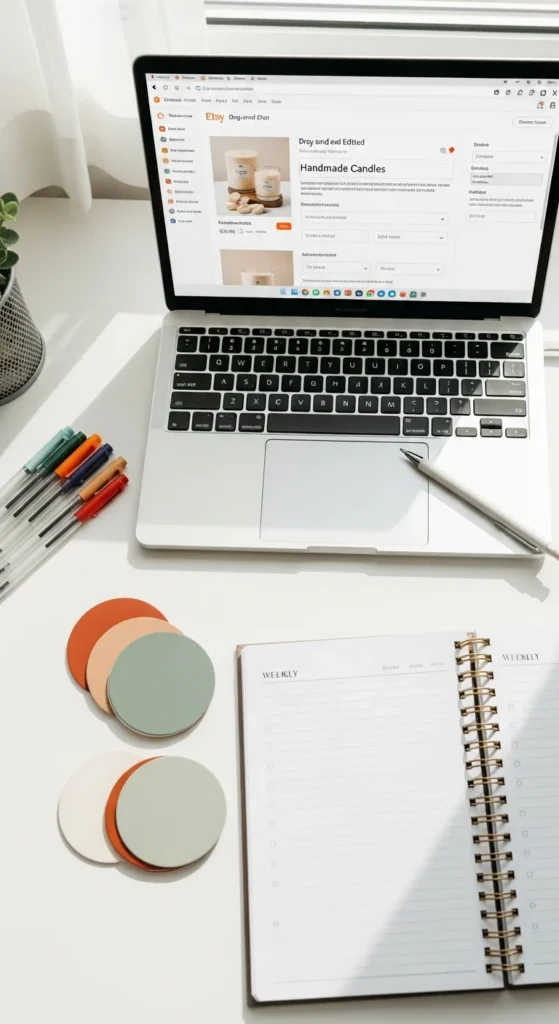
Step 2: Choose a POD Partner and Connect It to Etsy
For beginners, the easiest win is using a POD service that integrates directly with Etsy.
Two popular options:
- Printify
- Printful
What to do:
- Create your POD account (free).
- Connect it to Etsy.
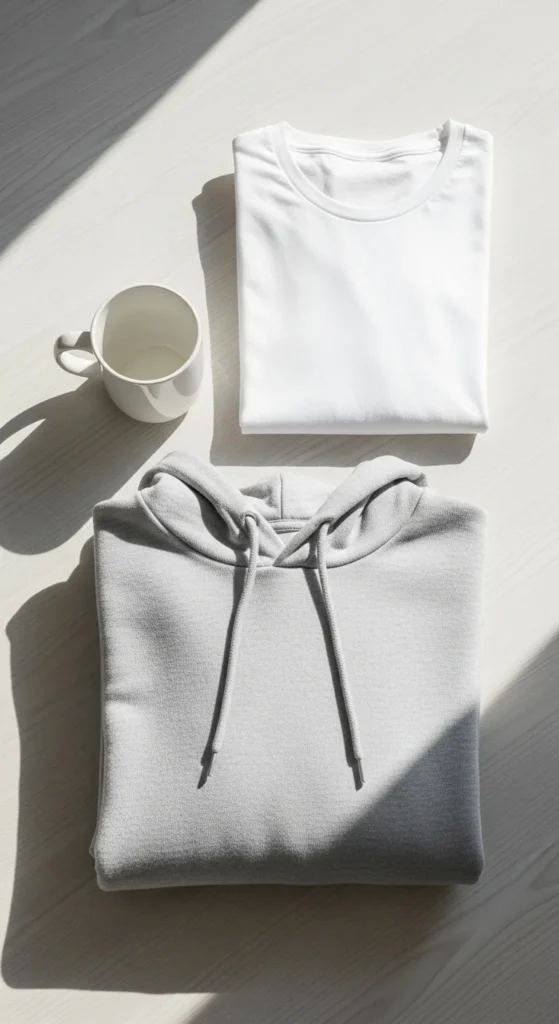
- Choose 1–2 core products to start:
- T-shirt (most common first product)
- Mug (gift-friendly and simple)
Keep your catalog small at first. It’s easier to manage, and you can improve quality faster.
Step 3: Use Canva Templates to Make Simple, Sellable Designs
You do not need advanced design skills. You need clear, readable, niche-specific designs.
Start with Canva:
- Use a template for t-shirts or mugs
- Keep fonts bold and easy to read
- Limit colors (2–3 max)
- Create variations fast (same layout, different niche phrase)
Beginner design styles that sell:
- Minimal text + small icon
- Retro badge circle layout
- Simple line art + short phrase
- Local pride: “Est. 1998” style with custom town
Tip: Make 5 designs first, then create 2–3 variations each. That gives you 10–15 listings quickly without burning out.
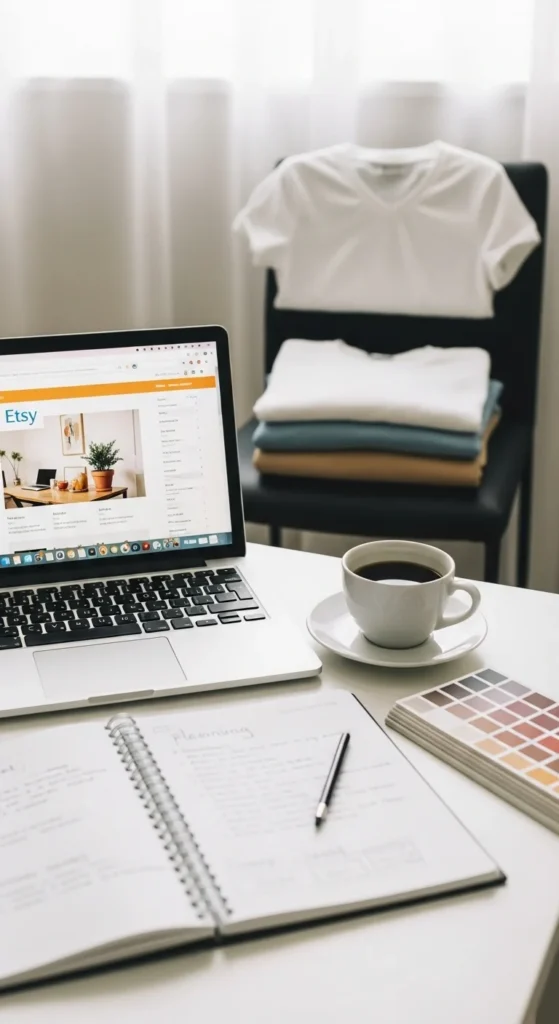
Step 4: Create Scroll-Stopping Mockups (Lifestyle Wins)
Mockups matter more than many beginners think. People buy with their eyes first.
Use mockups that feel real:
- A person wearing the shirt in natural light
- A mug held in hands by a window
- A hoodie on a chair in a cozy room
Avoid:
- Plain white background only (use it as a secondary photo, not the main one)
- Low-resolution images
- Over-edited “fake” scenes
Quick mockup checklist:
- Bright, natural lighting
- Clean background
- Product looks like a real photo, not a cartoon

Step 5: Write Etsy Titles and Tags That Match Real Searches
Etsy SEO is simple when you treat it like matching.
Rules that work well:
- Put your main keyword phrase at the front of the title
- Use the full 13 tags
- Mix broad + specific tags
Example title structure (t-shirt):
- “Gardening Mom Shirt, Funny Plant Lover Tee, Gift for Gardeners, Cozy Hobby T-Shirt”
Tag ideas (mix):
- gardening mom shirt
- plant lover gift
- funny gardening tee
- garden humor
- mom gift idea
- nature lover shirt
- hobby t-shirt
Do not guess randomly. Use Etsy search suggestions:
- Start typing your keyword and note what Etsy auto-suggests.
- Those suggestions are real searches.
Step 6: Price for Profit Without Scaring Buyers Away
Many POD sellers price too low and feel stuck. Your goal is a healthy margin while staying competitive.
Simple pricing approach:
- Add product cost + shipping + Etsy fees
- Aim for 40–50% margin when possible
- Try to target $10+ profit per order on apparel
Extra profit ideas:
- Personalization (names, years, city) often allows a higher price
- Bundles: matching shirt + mug sets (later)
Also, avoid Etsy ads early if margins are tight. Organic sales first keeps costs predictable.
Step 7: Launch Faster with a “10 Listings in 48 Hours” Plan
Your first sale often comes after you look established. That usually means a small collection, not one random listing.
Simple launch plan:
- Day 1:
- Pick niche
- Make 5 designs in Canva
- Choose 1 product (t-shirt)
- Day 2:
- Create 10 listings (design variations)
- Write strong titles + 13 tags
- Add 5–7 photos per listing
Good listing photo order:
- Best lifestyle mockup
- Close-up or alternate angle
- Size chart image (no text in mockups, but charts can be separate listing images if you use them)
- Color options
- “In use” scene (mug on desk, shirt on person)
Step 8: Get Early Sales with Smart, Simple Moves
You do not need a huge following to get the first sale. You need visibility and trust.
Fast trust builders:
- Reply to messages within 24 hours
- Clear shipping estimates
- Clean shop banner + logo (simple is fine)
- A short shop announcement about processing time
Easy traffic ideas:
- Post 3–5 pins per product on Pinterest (lifestyle images work best)
- Make one “gift guide” pin (example: “Gifts for Gardeners” visuals, no text on image)
- Offer a small launch sale (10–20%) for a week
If you run a discount, do it for a reason:
- “Launch week special”
- “New shop thank you”
Final Takeaway
Your first Etsy POD sale comes faster when you validate demand, launch a focused niche collection, use strong mockups, and write titles/tags based on real searches. Keep it simple, stay consistent, and improve one listing at a time.
If you want, I can also generate:
- 25 demand-tested niche ideas for 2026
- 15 long-tail title templates for your niche
- A 10-listing starter pack (titles + tags + mockup ideas)
Save this guide for later and start with Step 1 today!

Leave a Reply