
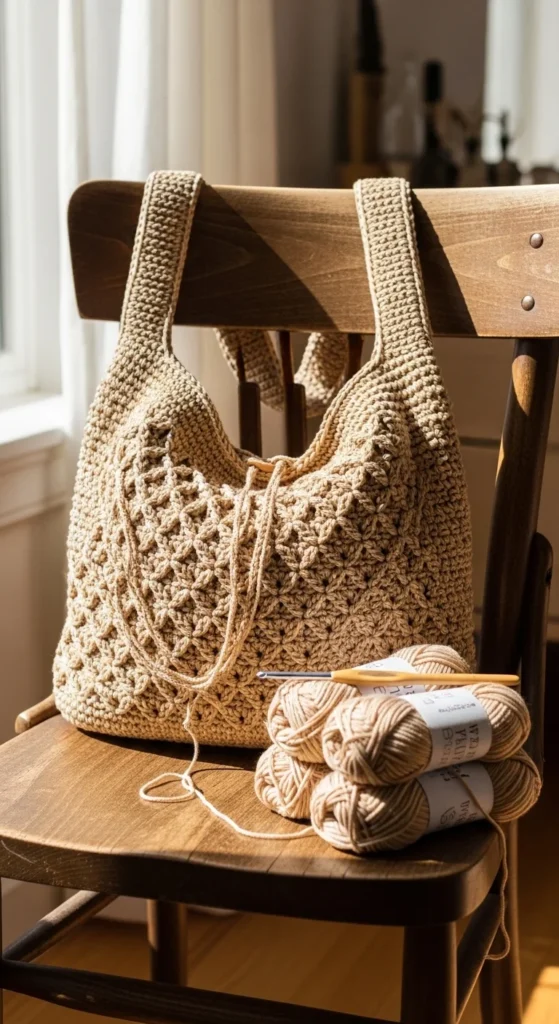
Crochet bags have come a long way. They’re no longer just cute accessories that sit in a closet. With the right yarn and structure, you can crochet a bag that looks stylish and holds your everyday items without stretching out. This guide shows you how to make a practical crochet bag step by step, using simple stitches and smart choices so the final result is something you’ll reach for again and again.
Choosing the Right Yarn for a Strong Bag
Yarn choice makes or breaks a crochet bag. Soft yarn feels nice but often stretches too much for daily use.
Best yarn options for usable bags
- Cotton yarn (strong and holds shape)
- Cotton blends for a little softness
- T-shirt yarn for extra structure
Avoid fuzzy or stretchy yarns. They lose shape quickly.
Medium-weight cotton works well for beginners. It’s easy to stitch and strong enough for wallets, phones, and keys.
Pick a color you’ll actually use. Neutrals work for everyday bags. Bright colors are fun for summer styles.
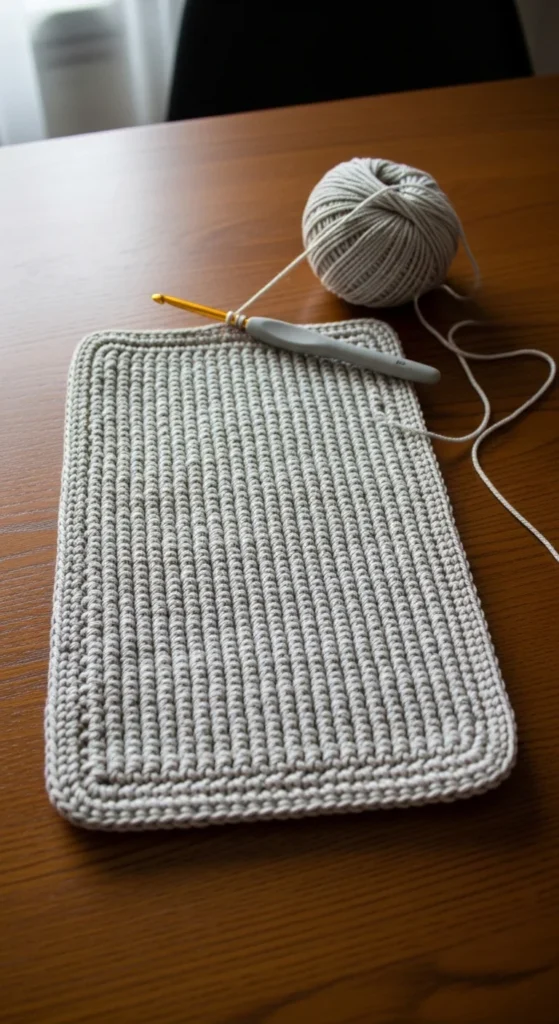
Picking a Simple but Sturdy Stitch
Simple stitches often work best for bags.
Beginner-friendly bag stitches
- Single crochet (very strong)
- Half double crochet (slightly softer but still sturdy)
- Moss stitch (dense with texture)
Single crochet is the strongest option. It creates a tight fabric that doesn’t sag much.
Choose one stitch and use it throughout the bag. This keeps the design clean and the structure consistent.
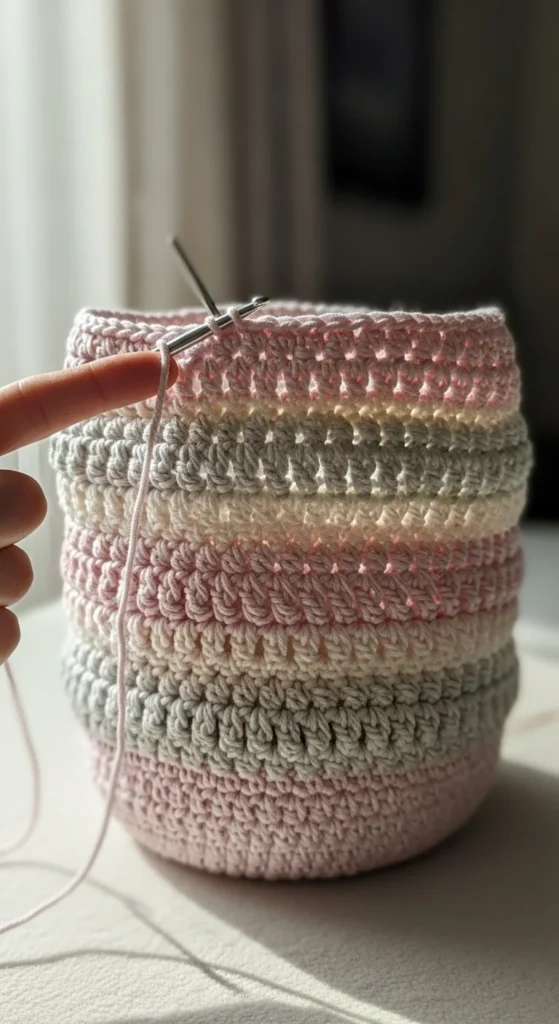
Starting With the Bag Base
Most crochet bags begin at the bottom. A solid base helps the bag stand up and hold weight.
You can start with:
- A chain worked in rows (for a flat base)
- A round or oval worked in continuous rounds
For a simple flat base:
- Chain about 25–30 stitches for a medium bag
- Single crochet across
- Chain one and turn
- Repeat until the base reaches your desired width
Building the Body of the Bag
Once the base is ready, it’s time to build upward.
How to start the sides
- Crochet evenly around the base
- Work into each stitch without increasing
- Continue in rounds or rows depending on your design
The fabric will start to curve upward naturally. This creates the bag’s walls.
Keep going until the bag reaches your preferred height. For a daily-use bag, 10–12 inches works well.
Check firmness as you go. If the fabric feels loose, switch to a smaller hook.
Shaping the Top Edge
The top of the bag should feel clean and strong.
Options include:
- A few tighter rows of single crochet
- Working one row in the back loop only for subtle texture
- Adding a simple border round
This step helps prevent stretching and gives the bag a finished look.
If you plan to add handles, think about placement now.
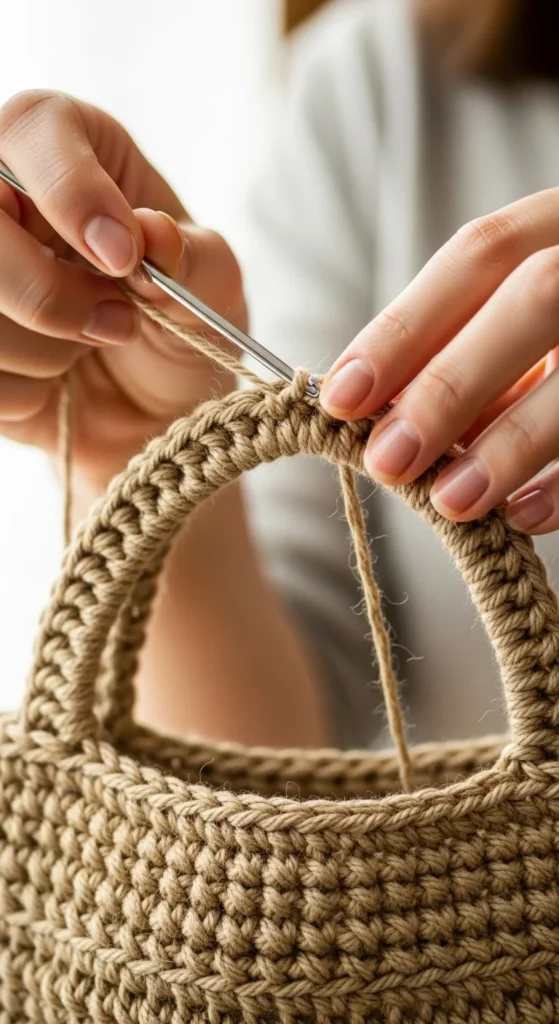
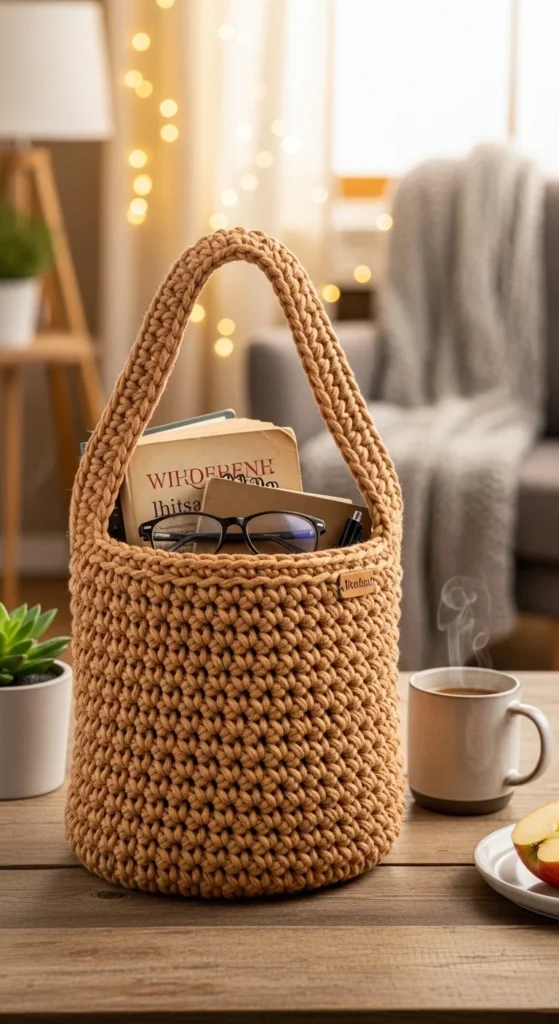
Making Strong Crochet Handles
Handles are just as important as the bag body.
Simple crochet handle option
- Chain the desired handle length
- Attach to the opposite side with slip stitches
- Single crochet across the chain several times for strength
For extra durability:
- Crochet multiple rows over the chain
- Keep stitches tight
You can also attach store-bought handles if you want a polished look.
Adding a Lining (Optional but Helpful)
A fabric lining helps the bag last longer and prevents stretching.
You can:
- Sew in a simple cotton lining
- Attach it loosely at the top edge
This step is optional but useful if you carry heavier items.
If sewing isn’t your thing, skip it. The bag will still work well with sturdy yarn.
Finishing Touches That Make It Stylish
Small details can change the look completely.
Easy style upgrades
- Add a button or magnetic snap
- Use a contrasting color for the top edge
- Attach a tassel or charm
Keep it simple. One detail is usually enough.
Tips for a Bag You’ll Actually Use
A few practical habits make a big difference.
- Keep stitches tight
- Use strong yarn
- Avoid overloading the bag
- Lay it flat when storing
These small steps help the bag hold its shape over time.
Final Thoughts
A crochet bag can be both stylish and practical when you focus on structure and simplicity. With the right yarn, a strong stitch, and clean finishing, you’ll end up with a bag that looks good and works hard.
👜 Save this guide for later and start crocheting a bag you’ll actually love using every day.

Leave a Reply